Welcome to Google Shopping Guerilla Marketing. If you have a product you want to market Google shopping is the place you want to be.
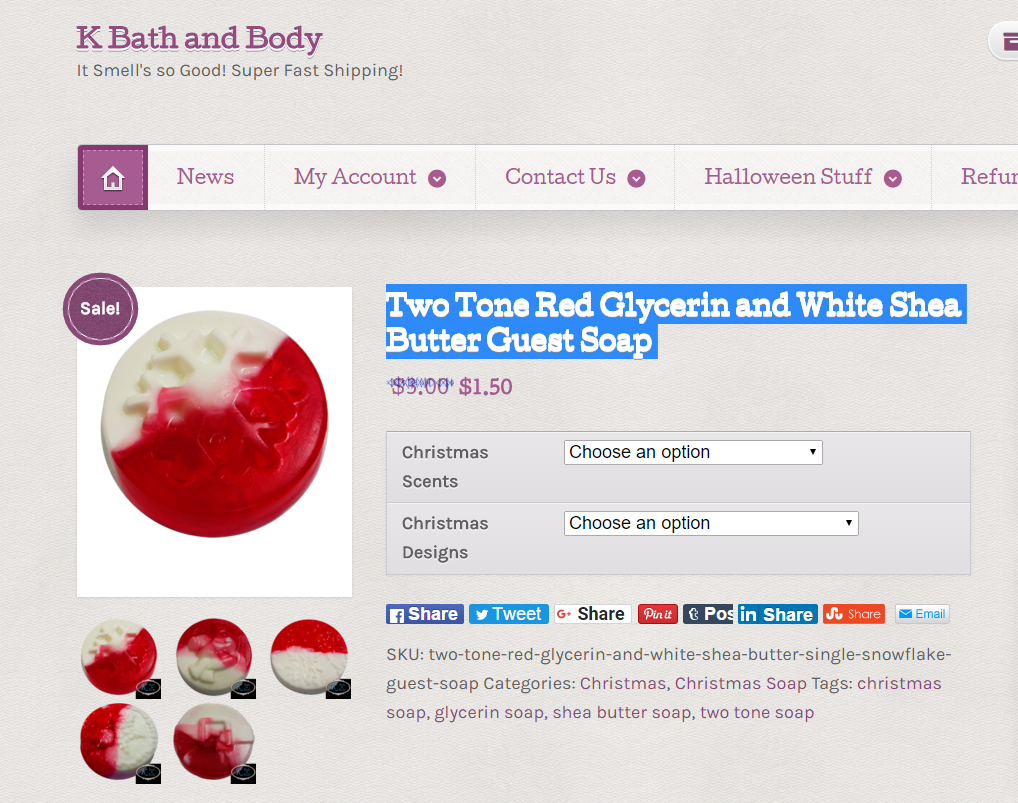
Our guinea pig website is kbathandbody.com. When you first go on the website you will see they sell candles and soaps. They already have everything set up as we have discussed in previous lessons.
What is Google Shopping?
Google shopping is a platform for merchants to sell their products in the Google search engine. If we go to kbathandbody.com’s web site and search for one of their product you will see it appears in the Google search engine.
Highlight and search the title
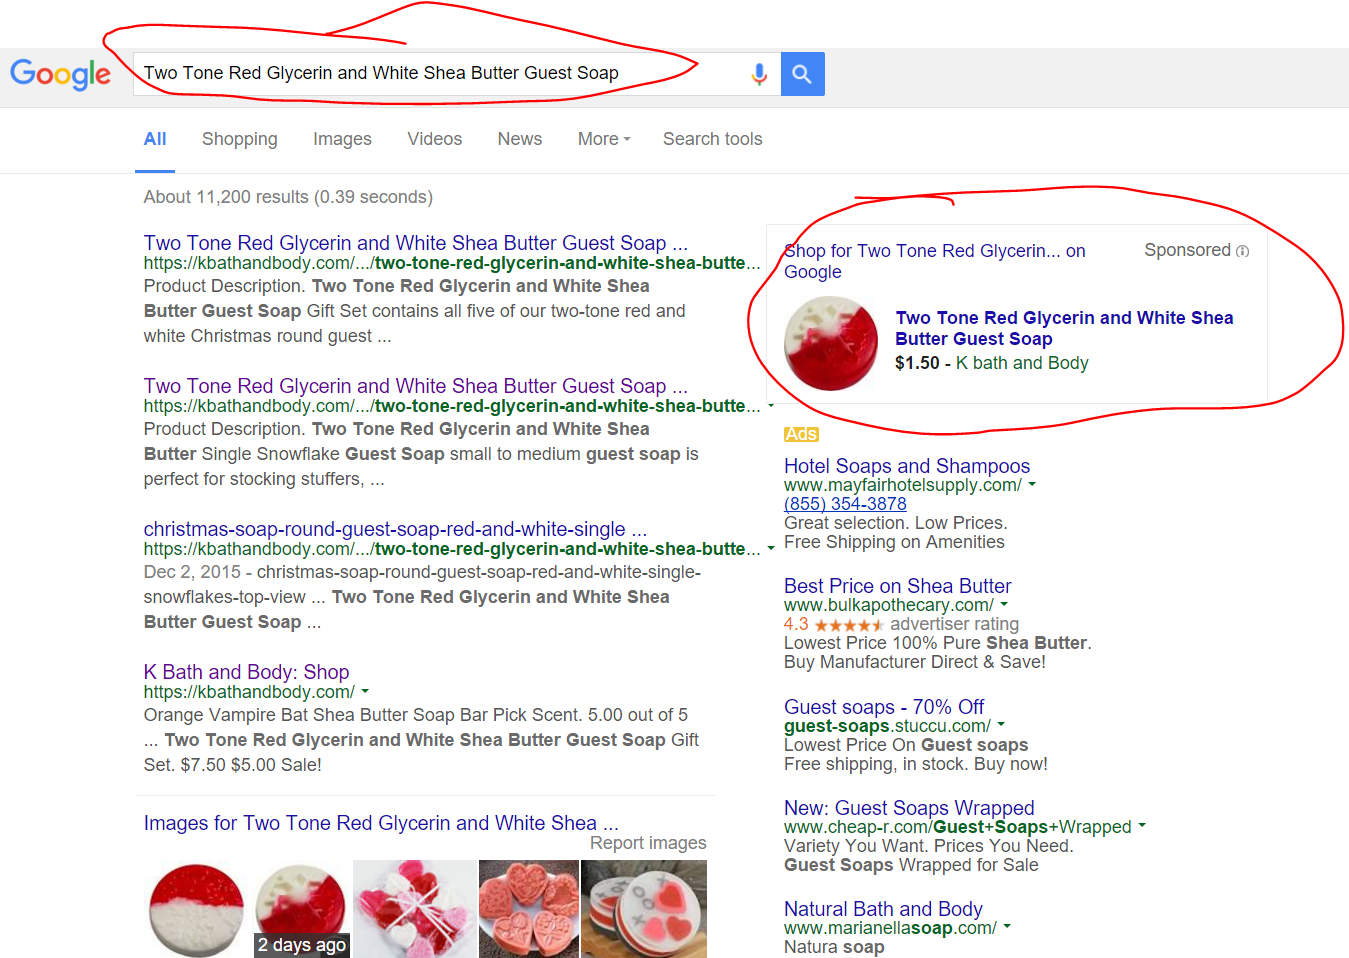
Google Search Results
After clicking on the ad you can go directly to this merchant and purchase the product.
How to Set up Google Shopping
Like we discussed in the last lesson you have to have an adwords account set up. You will also have to have a Google Merchant account set up and connect it to your adwords account. Make sure that you have also verified your website in the Google Search Console.
Prerequisites
- An Adwords Account
- Google Merchant Account
- Verify Website in Google Search console
Steps to Set Up Google Shopping
- Go to https://adwords.google.com and log in.
- Go to https://merchants.google.com and log in in another tab.
- Go to https://www.google.com/webmasters/tools/ in a third tab and login.
If you cannot see your website in the third step you must verify the website before you go on. Our objective is to connect all these accounts together so that they can communicate with each other.
For a detailed process on this you can see Google Shopping’s support page here. https://support.google.com/merchants/answer/176793
Connecting The Accounts
Go to https://merchants.google.com and you will see a menu on the left. Look for “settings” then in that tab look for “Website Verification”.
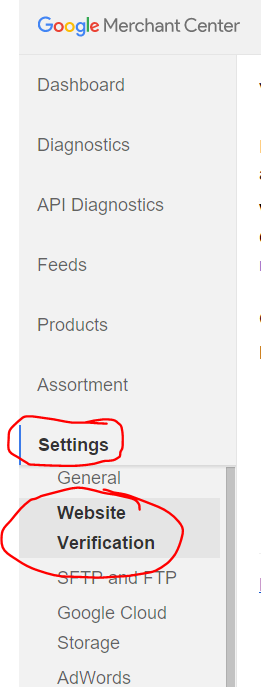
Website Verification
Click button to verify the website. After you click verify you will see the following.
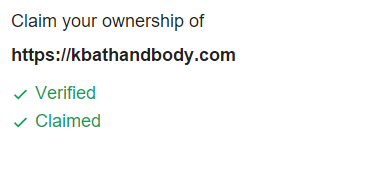
Verified and Claimed
Connect Google Merchant to Adwords Account
OK now we have claimed our website we must now link it with our adwords account.
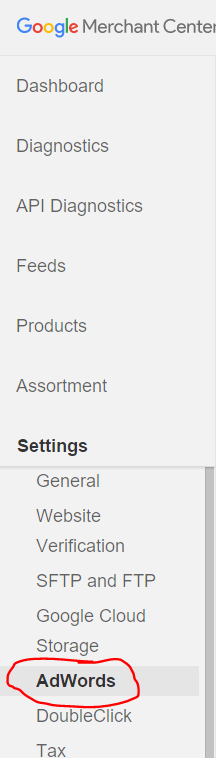
Go to https://merchants.google.com and scroll down to where it says “Settings” and then under setting click on “AdWords”.
AdWords Connect
Now you want to “link” your AdWords account to your Google Merchant account. Your button may say “Link Adwords Account”.
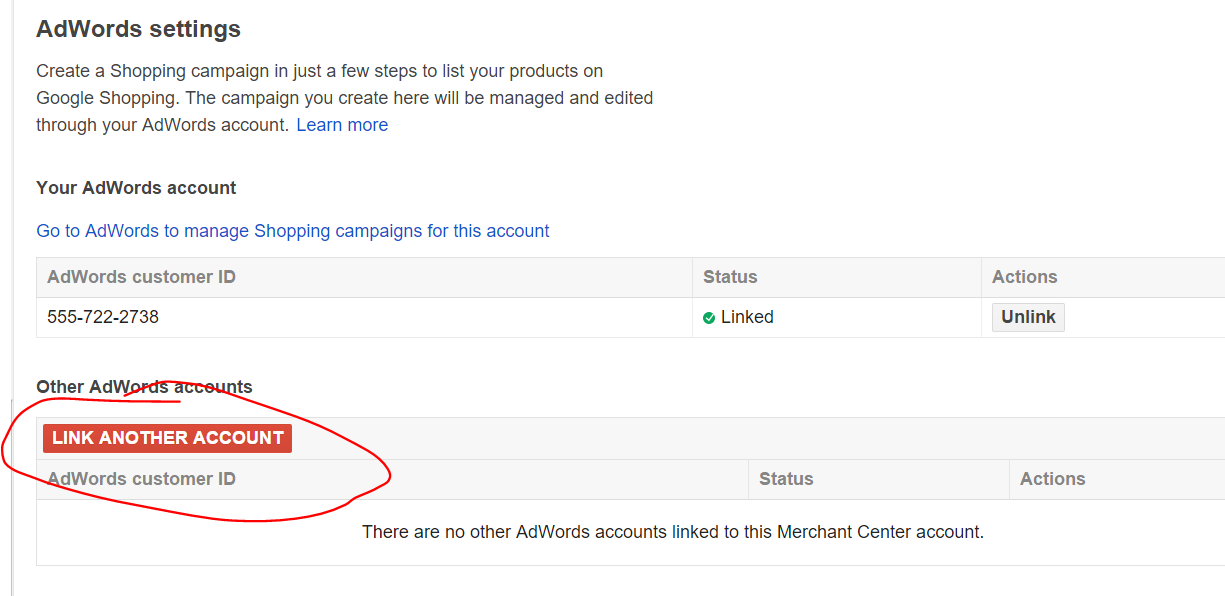
Link AdWords to Google Merchant
Congratulations you are now ready to upload your products to Google Shopping!
Tax and Shipping Info
Now you are going to have to tell Google what you are going to do about taxes and shipping.
Taxes
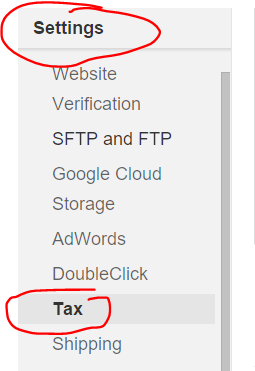
When you are in the Merchant center scroll down to where is says “Settings” and then “Tax”.
Tax Settings
You can use Google determined tax rate to speed things up for you. You also have the option not to charge taxes in the US. Click save after you are done.
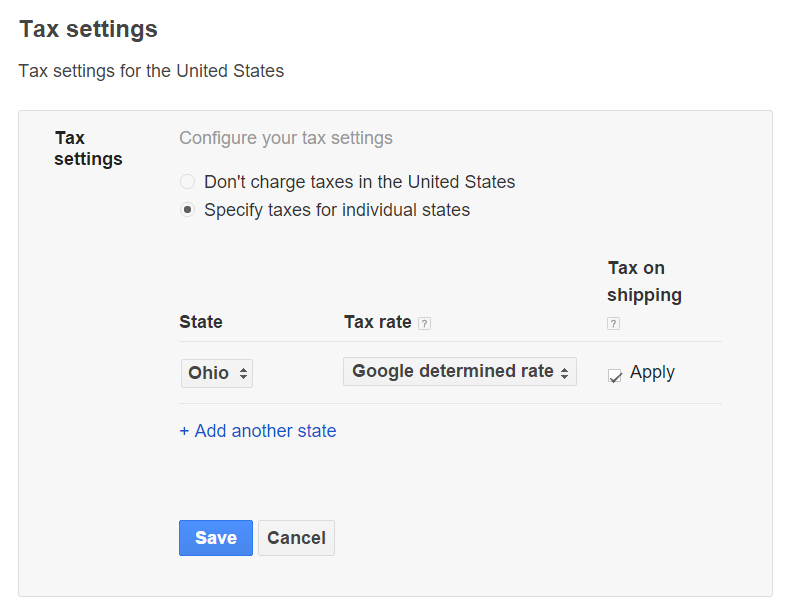
Google determined tax rate
Shipping
The next thing we want to do is set up the shipping parameters.
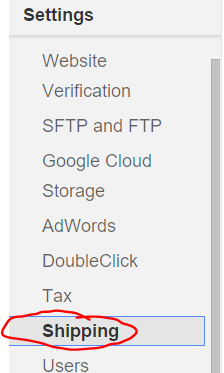
Shipping
After you click on the shipping button you will have to choose a shipping method. Name your shipping method whatever you want and fill in the parameters. Remember to click save when you are done.
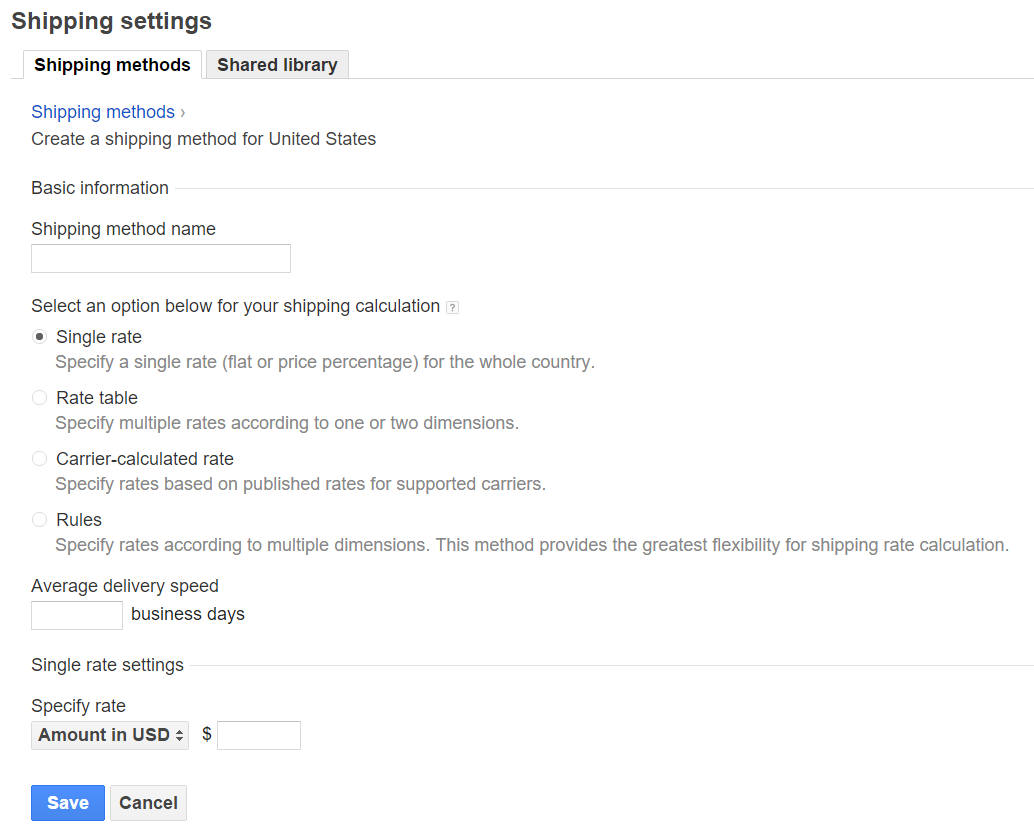
Shipping Settings
Uploading Your Products for Google Shopping
It is important to note that you must read Google’s accepted policies before you upload your products. Many people have had their account shut down because of Google policies. Just because something is legal does not mean that Google will allow you to advertise it.
Prepare your Database for Upload
I have prepared a spreadsheet for you. You can open this up in excel to edit it. Here is the link to the spreadsheet that you will upload to your Google Merchant Account. Lets talk about this because it is important for your success.
If you are doing clothing you will need more attributes so download this sample.
There are 12 columns in the spreadsheet.
- id
- title
- description
- link
- price
- brand
- condition
- image_link
- mpn
- google_product_category
- product_type
- availability
You must have each row filled out accordingly.
| id | title | description | link | price | brand | condition | image_link | mpn | google_product_category | product_type | availability |
| 1 | XXX | XXX | XXX | 22.95 | XXX | XXX | XXX | XXX | XXX | XXX | XXX |
| 2 | XXX | XXX | XXX | 13.20 | XXX | XXX | XXX | XXX | XXX | XXX | XXX |
ID
The id is just the id of the product. You can put whatever you want in there. Remember the first marketing lesson where you can take advantage of other popular id numbers? 😉
Title
This would be the title of your product.
Description
This would be a description of your product. Stick to the facts for best results.
Link
This would be the complete URL to your product. Do not send people to your home page. You will get disapproved if you do!
Example: https://kbathandbody.com/product/two-tone-red-glycerin-and-white-shea-butter-single-snowflake-guest-soap/
Price
This is the price of the product.
Brand
This is made up by you, it is best to enter the brand of a popular item. If there is no brand to match the item make up your own.
Condition
You have 2 options. new or used.
image_link
Make sure that you put in an image URL into this field. Do not link it to the product page or you will be disapproved. The URl should end in a .jpg .png .gif or something of that nature.
Example: https://kbathandbody.com/wp-content/uploads/2015/12/christmas-soap-round-guest-soap-red-and-white-single-snowflake-no-border.png
mpn
This is an acronym for manufacturer product number. It can be numbers or letters or both. 🙂
google_product_category
Pay attention to this. You must select a Google product Category and put it in “quotes” in the spreadsheet.
example: “Health & Beauty > Personal Care > Sleeping Aids > Travel Pillows”
product_type
This would be the category on your website. It may be the same as Googles. Put this in quotes as well.
Example: “Travel Products > Pillows > Travel Pillow”
availability
Use parameters in stock or out of stock.
Uploading Your File to Google Shopping
Now you are ready to upload your feed file to Google shopping. In your Google Merchant Center go to “Feeds”.
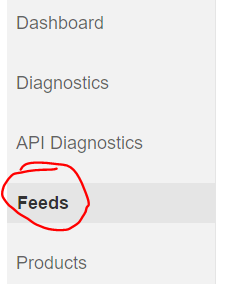
Feeds
Click on the red button called “New Feed”.
New Feed
You will set the parameters for this feed. Mode, Feedtype, target Country, Content Language and Name the feed. Set your parameters to look like this graphic.
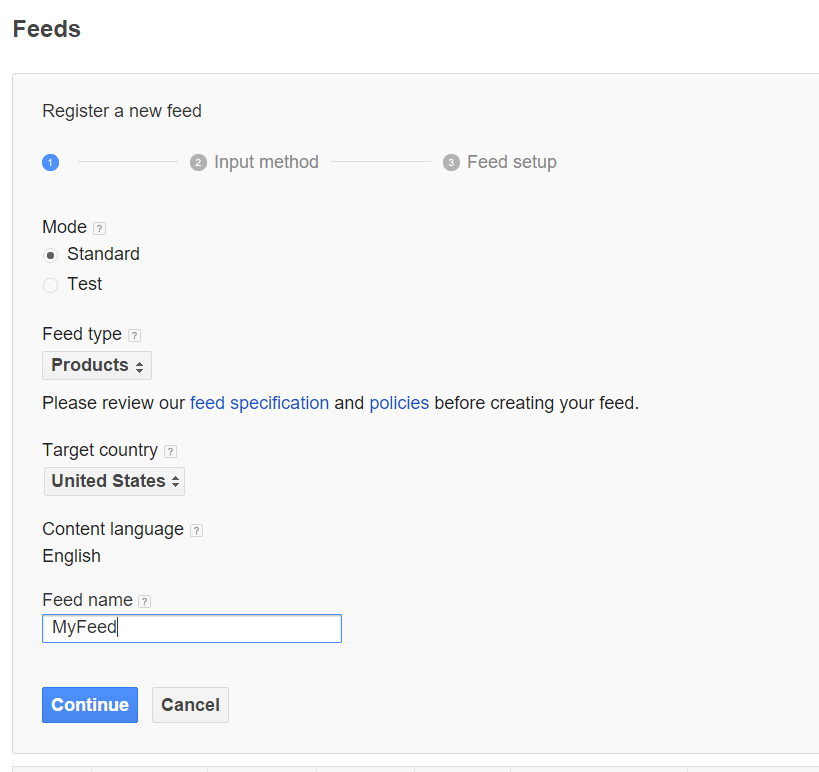
Register A New Feed
After you click continue you will see a screen like this. Select “Regular Uploads” then click the continue button.
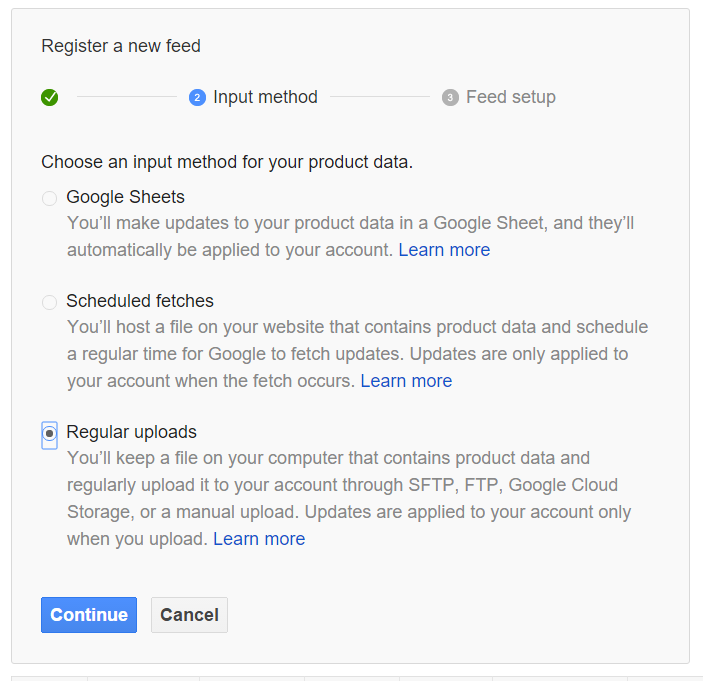
Regular Uploads
You will now see a screen that looks like this. Name your file and make sure that you click the “Shopping” box. This will enable your feed for Google Shopping.
Click the box “manually upload a file now” and click on the button to upload the file. After you have the file in queue click the “save” button.
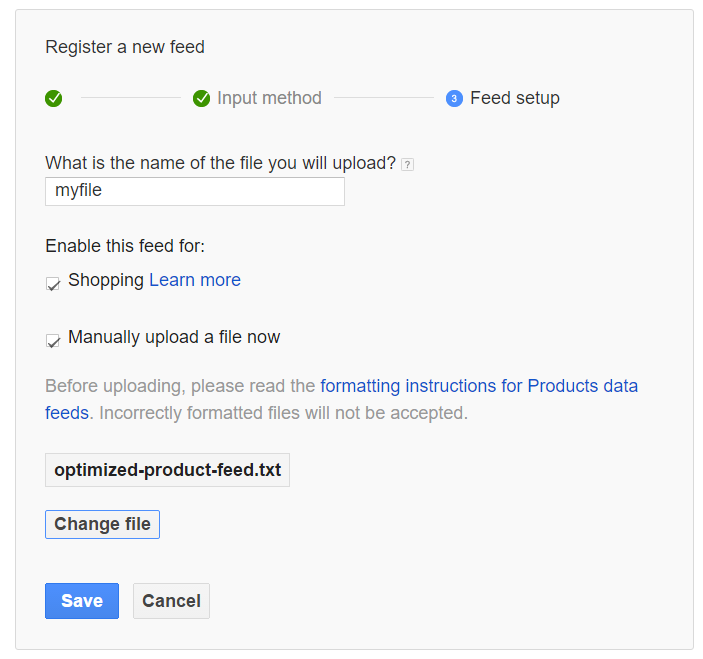
Register Feed Next Step
You will see a success message when you upload it.
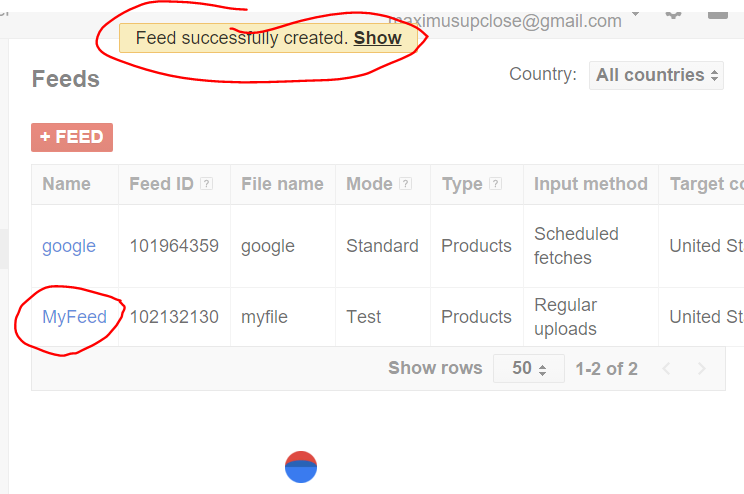
Upload Successful
Now Google will examine your feed to make sure it is correct. If it is not they will give you warnings. To take a look at your products click on the products menu.
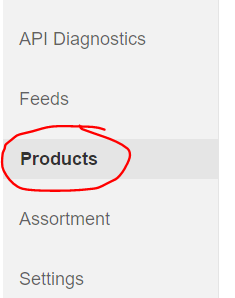
Products Menu
You will be able to see a product list. If you are doing this for the first time it may take Google several days to approve your feed.

Products Menu
IMPORTANT
Google will manually go to your website and they will look for a privacy policy and a return policy link. If they are not visible on your website they will reject your product feed!
Back to Adwords
Now that you have your feed uploaded you must go back to AdWords and create a campaign for it. GO to https://adwords.google.com/ and click on the campaigns tab.
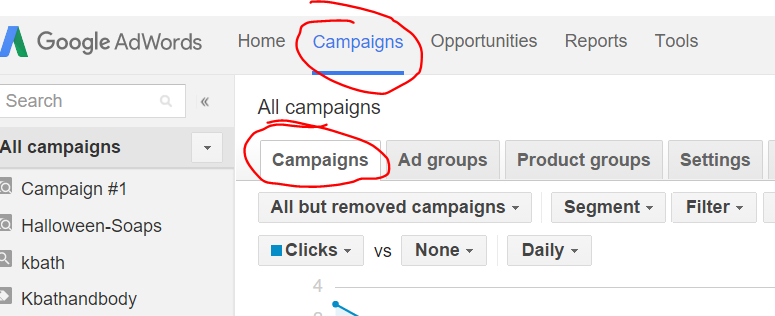
Campaigns
Now select the red +campaign tab and select “Shopping”.
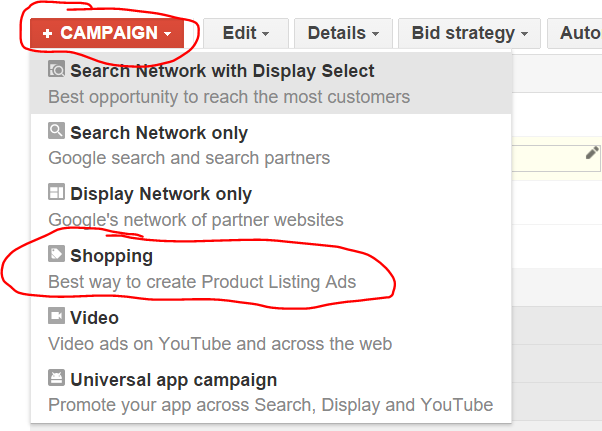
Shopping Campaign
You will get to a page like this. Give you campaign a name. Type is shopping. The important thing about this page is your merchant identifier. This is what brings in your products into the campaign. Set your location and budget. Then click save and continue.
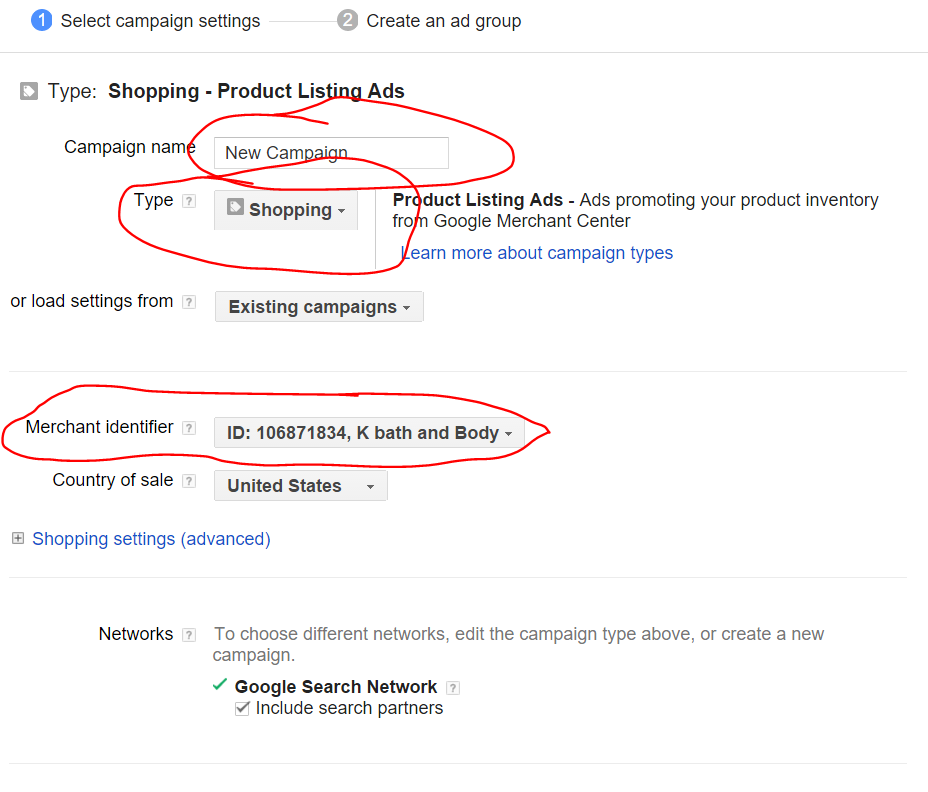
Product Listing Ads
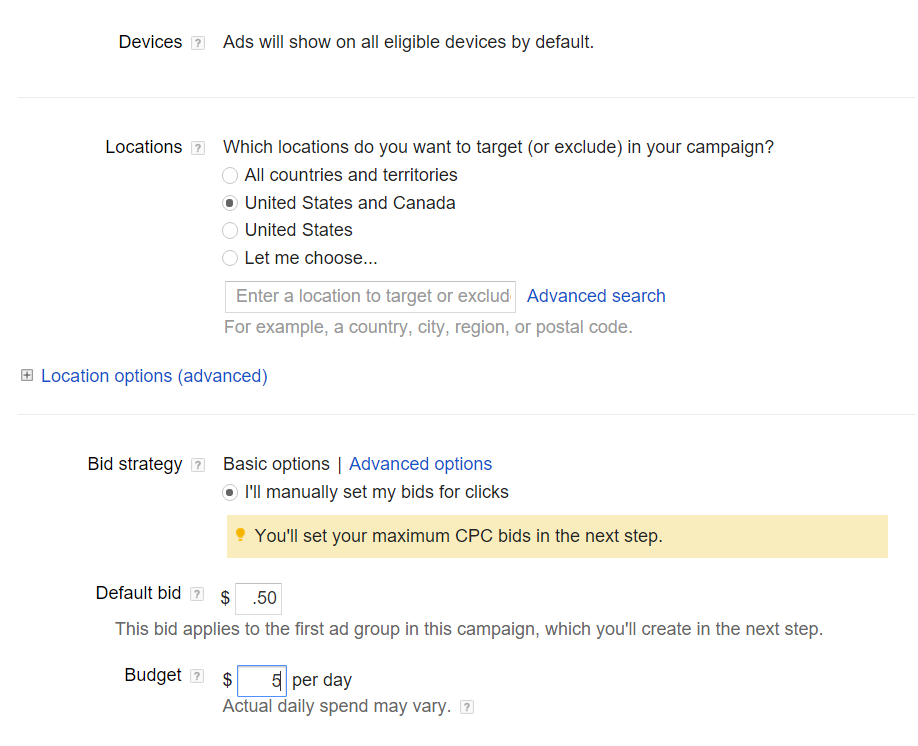
Set location and Budget
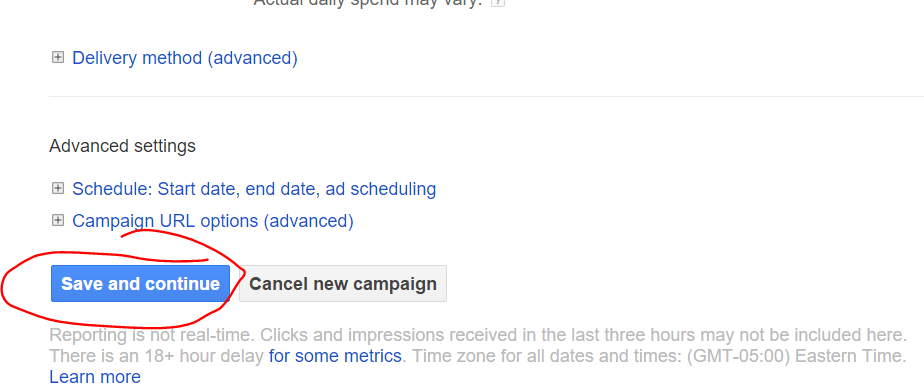
Save and Continue
Now you will name this new ad group and click save and continue.
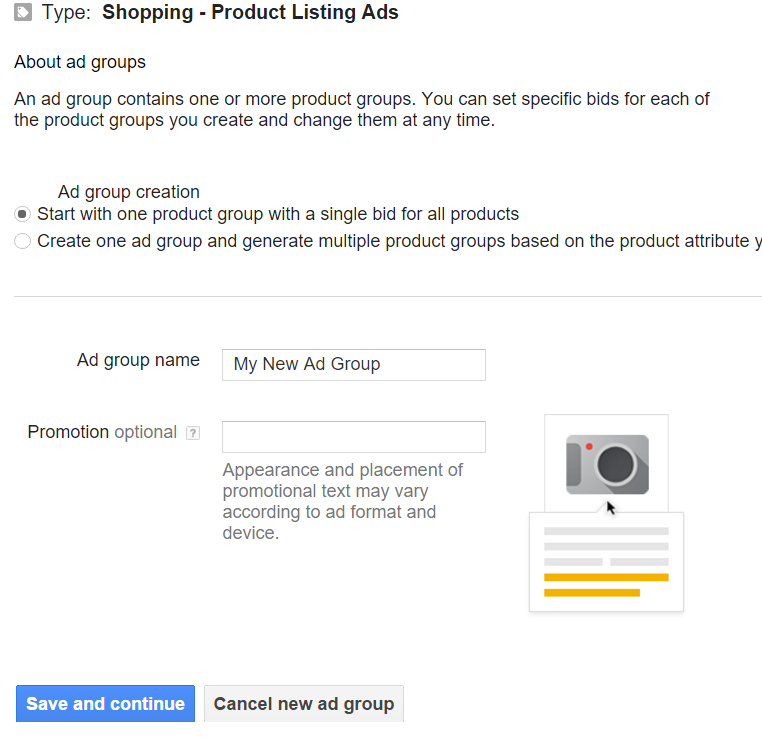
My New Adgroup
Congratulations you are done! 🙂
Next lesson
Use a CMS to generate a Google Shopping Feed
1 Comment
Thanks Max.