
Here is a beginners Guide for Dreamweaver CC 2019. Usually I promote free software and HTML editors but there are features in Dreamweaver that are incredibly useful that cannot be ignored. This is the reason I decided to write a quick tutorial on Dreamweaver CC 2019.
Dreamweaver Evolution
Dreamweaver has been around since the 90's. As Dreamweaver evolved it added more and more useful features for developers and newbies along the way. Although it is a paid HTML editor you cannot ignore the programs usefulness and efficiency. The layout is also easy to navigate. Like many Adobe products it is easy to change the workspace layout.Dreamweaver CC 2019 Features
There are many features in Dreamweaver. The efficiency of setting up multiple websites feature is next to none. Editing and preview code as you create it is a breeze. Code hinting in Dreamweaver really speeds up the workflow. For a complete list of Dreamweaver CC 2019 features click here.This is going to be a beginner tutorial so we are going to concentrate on the essentials.Beginner Essentials In Dreamweaver CC 2019
Download your free trial of Adobe Dreamweaver CC 2019 here. Next fire up Dreamweaver to get started. If you see any beginner prompt screens just ignore them or click on the button that says you know what your doing.Step #1 Set Up A Site in Dreamweaver cc 2019
Since I am teaching you guys development I want you to use the developers workspace layout. Go to the top of your screen look for "Window" then "Workspace Layout". Choose the "Developer" option.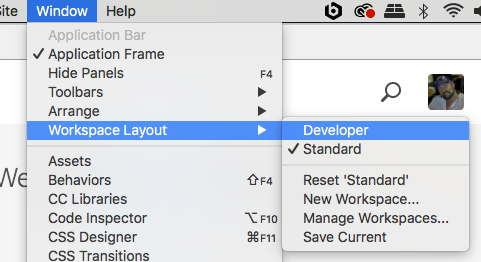 Your screen will then look something like this.
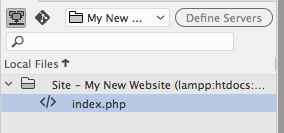
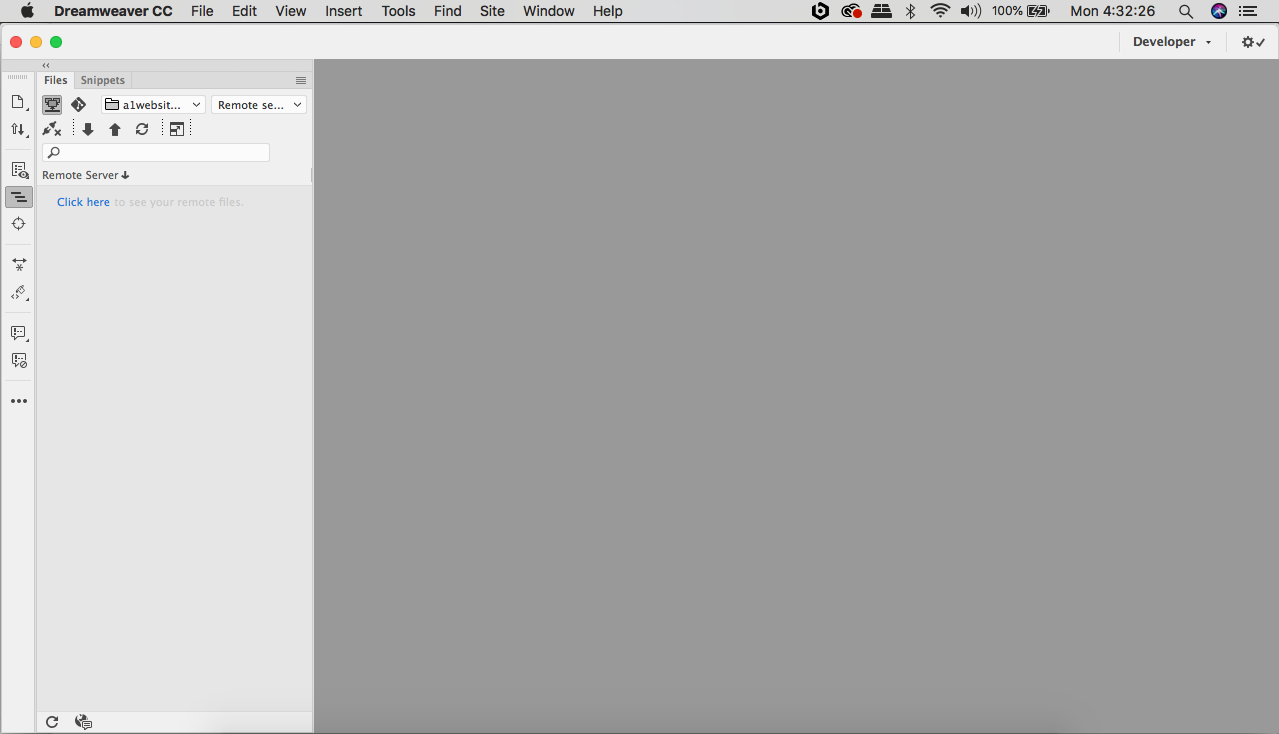 Notice the files and snippet tabs on the left hand side.
Step #2 Define A Website
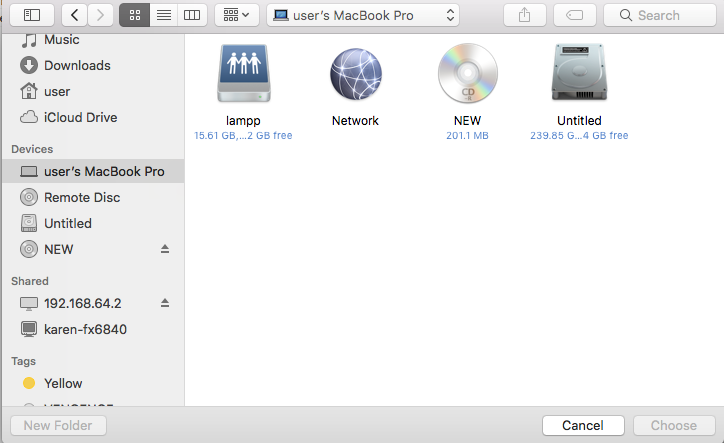
IN order to define a website we need to set up a website folder. If you are using XAMPP like I am you will want to do it like this. Look for the dropdown that has the option to "Manage Sites". Click on "Manage Sites".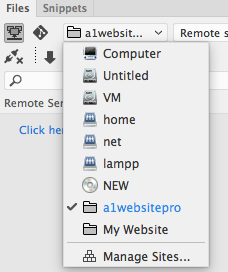 Next you will see a box that looks like this. I have 2 websites already setup in my Dreamweaver CC 2019. Click on the oval button that says "New Site".
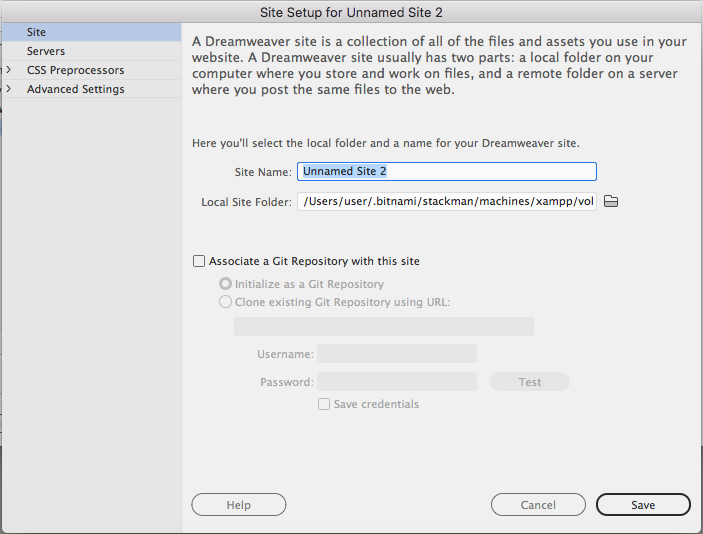
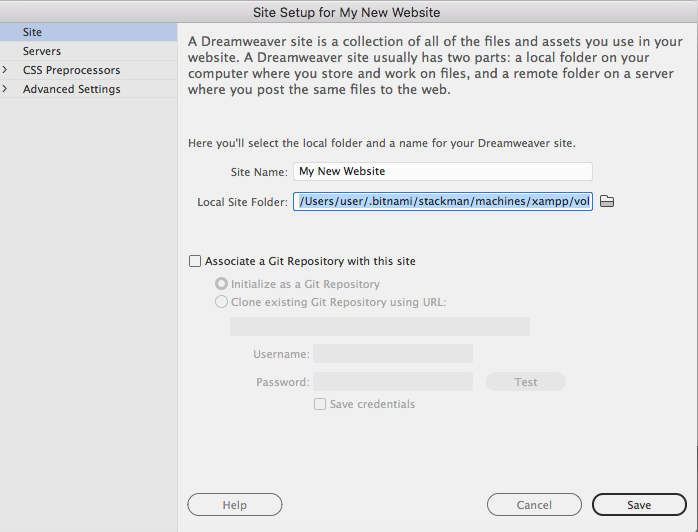
 You will then be presented with a box that looks like this. replace the text where is says "Site Name:" and give you website a name. You can call it, "My New Website" if you wish.
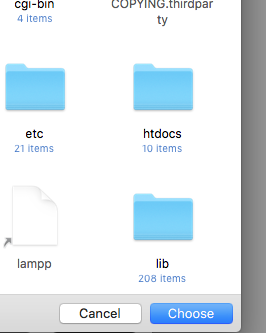
 Next you need to choose a folder on your computer for your website. If you have XAMPP like I do then you will want to choose the htdocs folder. If you do not have XAMPP or another processor then just create a folder on your desktop to associate websites with. This will be called your "Local Site Folder". Click on the little folder icon. It will open up a folder view. Navigate to Macbook Pro on the left. Then click on "lampp". Inside lampp folder you will find your htdocs folder.
 Double click on your htdocs folder.
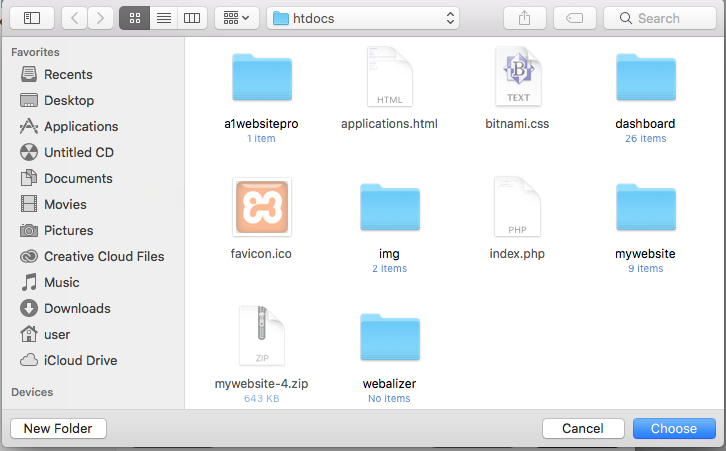
 Create a "New Folder" for you website.
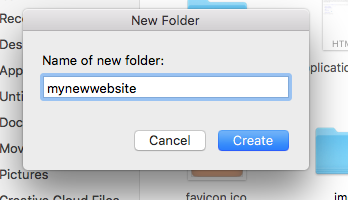
 Name the new folder then click click "Create".
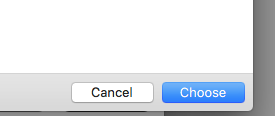
 Now click "Choose".
 Next click "save".
 Next click "Done".
Congratulations your local website is setup and ready to go!
Next click "Done".
Congratulations your local website is setup and ready to go!
Step #2 Creating Files in Dreamweaver CC 2019
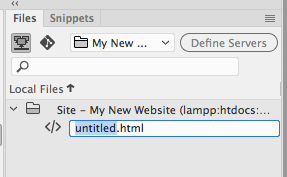
Now that you have your website setup you will want to create files within your website. Since we just defined the website and created a folder in it there are no files within the website. Creating files in Dreamweaver is easy. Right click over your new site. You will be presented with some options. Select "New File".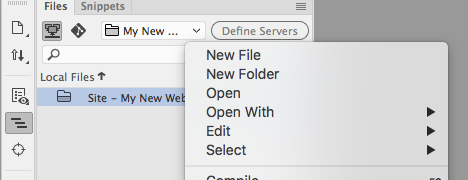 Dreamweaver will then create a HTML file by default. It will be outlined in blue so you may change the name. We will call our new file index.php.
 You will create more files in the same manner. You can also create new folders for your project the same way. Right click and select "New Folder". Then give you folder a name and it is ready for use. You may double click on the files in Dreamweaver and they will open in the editor on the right.
Dreamweaver CC 2019 Locked Files
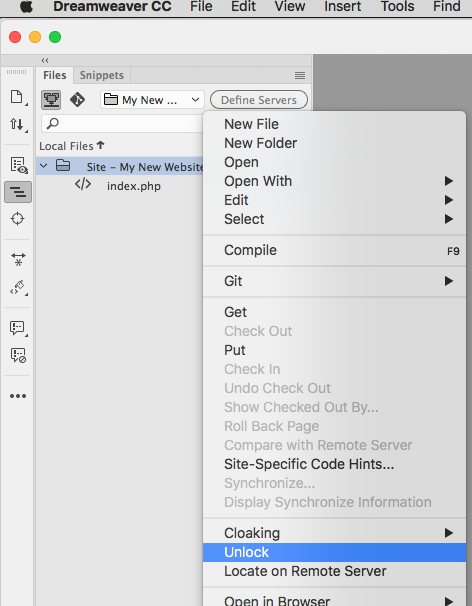
If you click on a file and it says;index.php is a locked file and can be viewed but not changed. What would you like to do with this file?
 Hit cancel then navigate over to the left where the site folder is. Right click then select "Unlock".
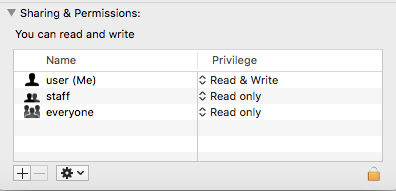
 If that does not work for you then try to view the file. If you can edit it then you are good to go! If not then navigate to your htdocs folder. Right click and select "Get Info".
 Navigate down to where it say "Sharing and Permissions". We want to give read and write permissions to everyone. Click on the lock icon at the bottom right. You will ten be prompted to enter your password. Next change the privileges to read and write for everyone.
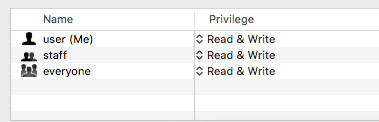 Now you should be able to create files without seeing that message.