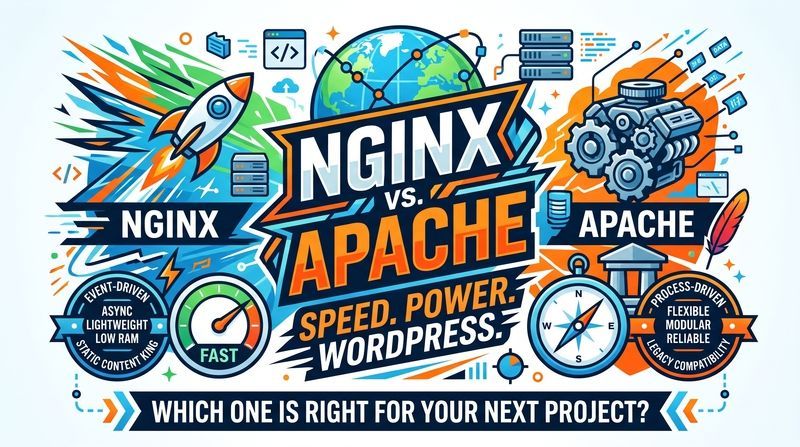
If you are getting ready to set up a new server to host websites, you will inevitably run into the classic debate: Nginx or Apache? Both are incredible pieces of open-source software that power the vast majority of the internet, but they take very different approaches to handling web traffic.
If you have heard that Nginx is faster, you heard correctly. But before you make the switch, it is important to understand why it is faster, and what trade-offs you might face—especially if you are hosting #wordpress sites.
The Architecture Difference: Speed and Memory
The main difference between the two comes down to how their architecture handles incoming connections.
- Apache (Process-Driven): Traditionally, Apache spawns a new thread or process for every single connection. This is highly reliable but extremely memory-intensive. Under heavy traffic, Apache can quickly chew through server RAM (averaging around 1.85 MB per connection).
- Nginx (Event-Driven): Nginx is asynchronous and event-driven. A single worker process can handle thousands of concurrent connections simultaneously. It is incredibly lightweight, using only a fraction of a megabyte per connection (~0.14 MB).
Because of this architecture, Nginx is significantly faster at serving static content and scales much better under heavy load without crashing your server.
The WordPress Question: What About .htaccess?
If you are migrating WordPress websites, you might hit a moment of panic when you learn that Nginx does not support .htaccess files.
Apache checks for these hidden files on every single page load to figure out URL rewrites, which slows things down. Nginx ignores them completely to prioritize speed. So, does that mean WordPress permalinks won't work on Nginx? Not at all. Some of the biggest managed WordPress hosts in the world run exclusively on Nginx.
Instead of relying on a local .htaccess file, Nginx handles URL rewrites natively at the server level. If you are using a control panel like #ISPConfig, getting your "Pretty Permalinks" to work only requires pasting a single directive into the site's Nginx options:
location / {
    try_files $uri $uri/ /index.php?$args;
}
Once applied, your WordPress URLs will work perfectly, with all the added speed benefits of Nginx.
Is There Any Reason to Still Use Apache?
With Nginx leading in performance, why would anyone still choose Apache? There are a few scenarios where Apache is still the champion:
- Multi-Tenant Shared Hosting: If you are selling generic shared hosting to hundreds of strangers, Apache is the gold standard. The
.htaccessfile allows users to safely set up their own redirects and security rules without needing root access to the main server. - Dynamic Module Loading: Apache lets you load and unload over 50 modules on the fly. With the open-source version of Nginx, many third-party modules have to be compiled directly into the core software from source.
- Legacy Software: Because Apache has been around since the 90s, some older enterprise applications and complex authentication systems were built exclusively for its architecture.
The Verdict
If you are running a generic shared hosting environment where clients demand the ability to use their own .htaccess files, stick with Apache.
However, if you are a developer managing your own client sites, or if you are setting up a VPS for your own projects, Nginx is the modern winner. It provides a massive boost in raw speed, lowers your memory footprint, and is incredibly easy to manage with modern auto-installers and control panels like ISPConfig.
How to Install ISPConfig with Nginx
If you are ready to make the jump, setting up a complete Nginx hosting environment is highly streamlined thanks to the official ISPConfig auto-installer. If you are starting with a clean, freshly installed Debian or #Ubuntu server, log in as root and run the following commands.
1. Configure Your Hostname
ISPConfig requires a Fully Qualified Domain Name (FQDN) to configure the mail and web services correctly. First, set your system hostname (replace yourdomain.com with your actual domain):
hostnamectl set-hostname server1.yourdomain.comNext, open your hosts file:
nano /etc/hostsAdd this line right below the 127.0.0.1 localhost line, then save and exit:
127.0.1.1 server1.yourdomain.com server1Reboot the server to apply the hostname changes cleanly:
systemctl reboot2. Update Your System
After the server finishes rebooting, reconnect as root and ensure all base OS packages are up to date so the installer dependencies build correctly:
apt update && apt upgrade -y3. Run the ISPConfig Auto-Installer
ISPConfig provides an official script that installs the entire stack (Nginx, MariaDB, PHP-FPM, #postfix, #Dovecot, etc.). Make sure you have wget installed, then run the installer with the --use-nginx flag:
apt install wget -y
wget -O - https://get.ispconfig.org | sh -s -- --use-nginx --use-ftp-ports=40110-40210 --unattended-upgrades
4. Save Your Passwords and Configure the Firewall
Once the installation finishes, the script will output two critical pieces of information in the #terminal: your ISPConfig Admin Password and your MySQL Root Password. Copy these to a secure location immediately!
Finally, open your web browser and navigate to your server's FQDN or IP address on port 8080 (e.g., https://server1.yourdomain.com:8080). Log in with the username admin and the password you just saved. Go to System > Firewall and click Add Firewall record. ISPConfig will automatically populate the required ports. Save the record to activate the firewall and secure your new Nginx server.
Join the Discussion
Create an account or sign in to leave a comment.