OBS Studio is a free program that allows you to record your screen, record your webcam, capture audio, and livestream. If you are just getting started, OBS may look confusing at first, but once you understand the basic layout, it becomes much easier to use.
What Is OBS?
OBS stands for Open Broadcaster Software. It is commonly used for:
- Recording your computer screen
- Recording tutorials
- Recording gameplay
- Using a webcam
- Livestreaming to YouTube, Facebook, Twitch, and other platforms
This beginner guide will focus on the basic setup so you can start recording your screen.
Step 1: Download and Install OBS
First, go to the official OBS Studio website and download the version for your computer.
- Choose Windows, Mac, or Linux depending on your device.
- Download the installer.
- Open the installer and follow the instructions.
- Once installed, open OBS Studio.
When OBS opens for the first time, it may ask if you want to run the Auto-Configuration Wizard. For beginners, it is fine to use the wizard. Choose the option that best matches your goal, such as recording or streaming.
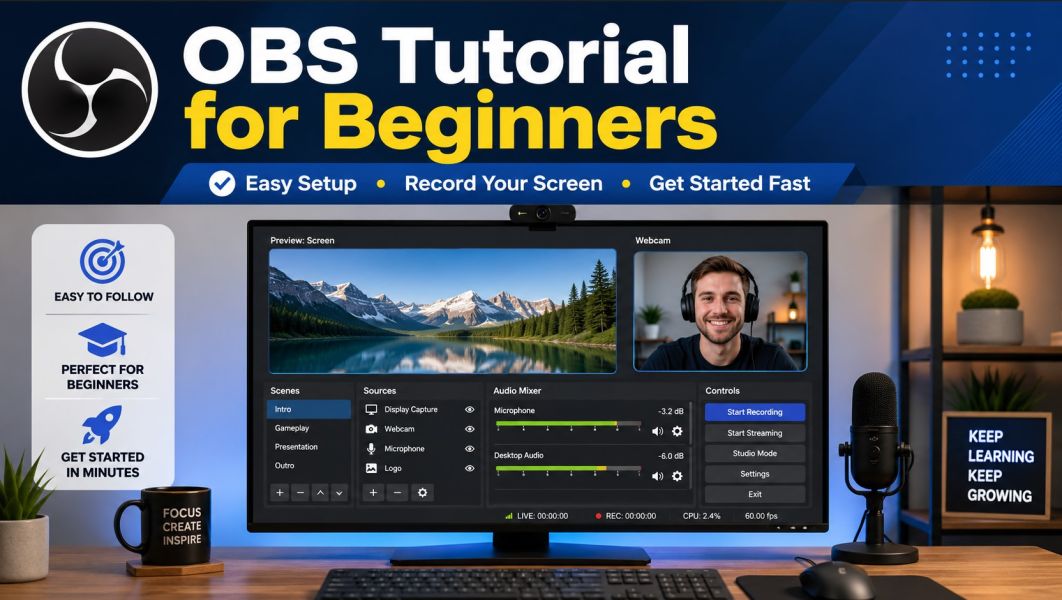
Step 2: Understand the OBS Layout
OBS is divided into a few important sections. These are the main areas you need to understand:
Scenes
A scene is like a workspace. You can create different scenes for different purposes.
For example:
- Screen Recording Scene
- Webcam Scene
- Livestream Scene
- Tutorial Scene
Sources
Sources are the things you add to a scene. A source can be your screen, webcam, microphone, image, browser window, or other media.
For example, if you want to record your computer screen, you need to add a screen capture source.
Audio Mixer
The Audio Mixer controls your sound. This is where you can see your microphone, desktop audio, and other audio sources.
Controls
The Controls area is where you start recording, start streaming, open settings, and exit OBS.
Step 3: Create Your First Scene
To create a new scene:
- Look for the Scenes box in the lower-left corner.
- Click the + button.
- Name your scene something simple, such as Screen Recording.
- Click OK.
You now have a blank scene ready to use.
Step 4: Add a Screen Capture Source
Now you need to tell OBS what you want to record.
- Look for the Sources box.
- Click the + button.
- Select Display Capture.
- Give it a name, such as Main Screen.
- Click OK.
- Select the monitor you want to record.
- Click OK.
You should now see your computer screen inside OBS.
Step 5: Add Your Microphone
If you want to record your voice, make sure your microphone is working.
- Go to Settings.
- Click Audio.
- Find Mic/Auxiliary Audio.
- Select your microphone from the list.
- Click Apply.
- Click OK.
Speak into your microphone and watch the Audio Mixer. If the green bar moves, OBS is hearing your microphone.
Step 6: Check Your Desktop Audio
Desktop audio is the sound coming from your computer. This includes sounds from videos, websites, games, or programs.
To check desktop audio:
- Play a sound on your computer.
- Look at the Desktop Audio bar in the Audio Mixer.
- If the bar moves, OBS is capturing your computer sound.
If you do not want to record computer sound, you can mute Desktop Audio by clicking the speaker icon beside it.
Step 7: Set Your Recording Location
Before recording, choose where your video files will be saved.
- Click Settings.
- Click Output.
- Find Recording Path.
- Choose a folder where you want your recordings saved.
- Click Apply.
- Click OK.
A good place to save recordings is a folder named OBS Recordings inside your Videos folder.
Step 8: Choose the Recording Format
OBS allows you to choose the video file format for your recordings.
For beginners, MKV is usually a safe choice because if OBS crashes, the video has a better chance of being saved properly.
If you need an MP4 file later, OBS can convert it.
- Click File at the top.
- Click Remux Recordings.
- Select your MKV file.
- Convert it to MP4.
Step 9: Start Recording
Once your scene, screen capture, microphone, and audio are ready, you can begin recording.
- Click Start Recording in the Controls box.
- Record your screen, tutorial, or presentation.
- When finished, click Stop Recording.
- Go to your recording folder to find the video file.
You have now made your first OBS recording.
Step 10: Do a Short Test Recording
Before recording a long video, always do a short test recording first.
Record about 20 to 30 seconds, then play the video back and check:
- Can you see the screen clearly?
- Can you hear your voice?
- Is the desktop audio too loud?
- Is the microphone too quiet?
- Is anything missing from the screen?
Doing a short test can save you from wasting time on a long recording that does not sound or look right.
Basic OBS Settings for Beginners
Here are some simple settings that work well for most beginner screen recordings:
| #ddd; padding:8px; text-align:left;">Setting | #ddd; padding:8px; text-align:left;">Recommended Beginner Option |
|---|---|
| #ddd; padding:8px;">Recording Format | #ddd; padding:8px;">MKV |
| #ddd; padding:8px;">Video Resolution | #ddd; padding:8px;">1920x1080 if your screen supports it |
| #ddd; padding:8px;">Frame Rate | #ddd; padding:8px;">30 FPS for normal tutorials |
| #ddd; padding:8px;">Microphone | #ddd; padding:8px;">Select your actual microphone, not Default if possible |
| #ddd; padding:8px;">Desktop Audio | #ddd; padding:8px;">Leave on if you want computer sound recorded |
Common Beginner Problems
Problem: OBS Records a Black Screen
This can happen if OBS does not have permission to capture the screen or if the wrong capture source is selected.
Try these fixes:
- Run OBS as administrator.
- Try Window Capture instead of Display Capture.
- Make sure the correct monitor or window is selected.
- On laptops, check graphics settings if OBS cannot capture certain programs.
Problem: Microphone Is Too Quiet
If your microphone is too quiet, increase the microphone volume in OBS or in your computer sound settings.
You can also add a filter:
- Right-click your microphone in the Audio Mixer.
- Click Filters.
- Click the + button.
- Add a Gain filter.
- Increase the gain carefully.
Problem: Desktop Audio Is Too Loud
Use the volume slider in the Audio Mixer to lower Desktop Audio. Your microphone should usually be louder than background computer audio.
Problem: Video File Is Too Large
Screen recordings can create large files. If the file is too large, you can lower the recording quality or resolution.
For simple tutorials, 1080p at 30 FPS is usually enough.
Beginner Recording Checklist
Before you start recording, go through this simple checklist:
- Scene is selected.
- Screen capture is visible.
- Microphone audio is moving in the Audio Mixer.
- Desktop audio is set correctly.
- Recording folder is selected.
- Recording format is set to MKV.
- A short test recording has been checked.
Final Thoughts
OBS Studio is powerful, but beginners only need to learn a few basics at first. Start with one simple scene, add your screen, check your microphone, and make a short test recording. Once you understand those steps, you can begin adding more advanced features like webcams, images, overlays, browser sources, and livestreaming.
The best way to learn OBS is to practice with short recordings until the process becomes familiar. After a few uses, the program becomes much easier to understand.