If you're helping people clean up compromised Windows computers, building a reliable USB toolkit is step one. But there is nothing more frustrating than booting up a utility on an infected machine only to be hit with pop-up ads or prompts demanding a premium license.
Here is a curated list of portable, industry-standard security tools that are 100% free, have absolutely no ads, and never prompt for a paid upgrade. You can drop these straight onto your flash drive and get to work.
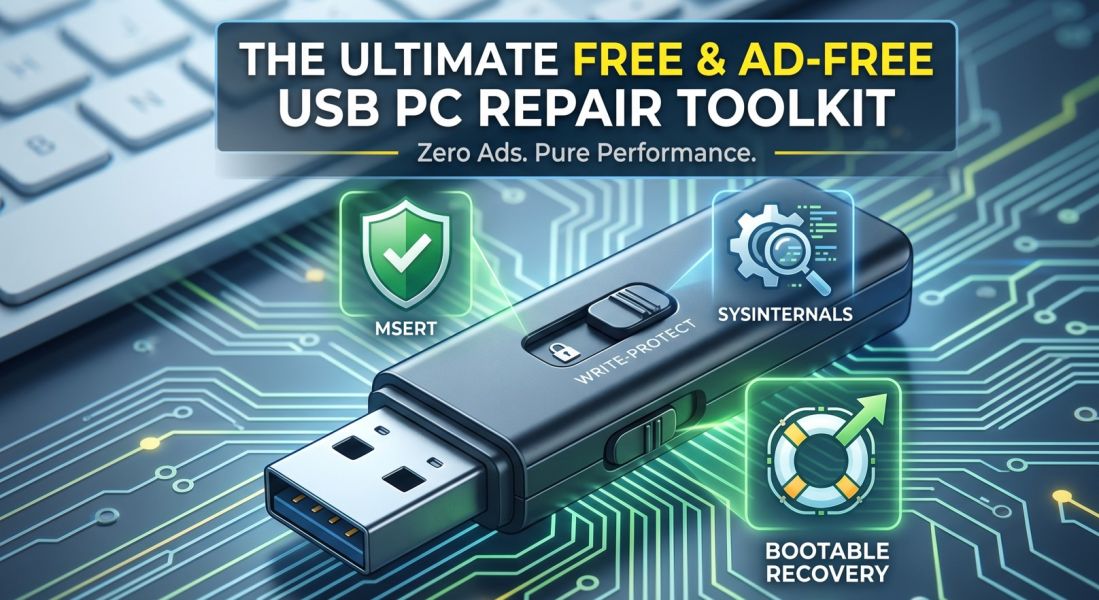
Crucial Hardware Tip: Before loading these tools, get a flash drive with a physical write-protect switch (like a Kanguru drive). This physically prevents malware on the infected host machine from copying itself onto your clean toolkit drive!
1. Microsoft Safety Scanner (MSERT) 100% Free
What it is: A standalone, portable on-demand scanner direct from Microsoft.
Why it belongs on your drive: It requires no installation and leaves zero footprint. It uses the exact same definition engine as Microsoft Defender but operates entirely independently. Because it's an official Microsoft diagnostic tool, there is absolutely no marketing or upselling.
Note: The executable intentionally expires 10 days after downloading. This is by design to ensure you are always scanning with the absolute latest malware definitions.
2. Sysinternals Suite (Autoruns & Process Explorer) 100% Free
What it is: Advanced manual diagnostic utilities maintained by Microsoft.
Why it belongs on your drive: When automated scanners miss heavily customized or brand-new threats, you have to hunt the malware manually. These two utilities are the undisputed champions of manual removal:
- Autoruns: Shows you every single process, registry key, scheduled task, and service configured to start with Windows. It is the fastest way to locate and kill a virus's persistence mechanism.
- Process Explorer: A supercharged Task Manager. You can link it directly to VirusTotal's API to automatically verify the hashes of all running processes against dozens of antivirus engines simultaneously.
3. Norton Bootable Recovery Tool 100% Free
What it is: A bootable ISO file used to create a clean rescue environment.
Why it belongs on your drive: If Windows is severely corrupted by a rootkit or completely locked up by ransomware, you cannot trust the operating system to run your standard tools. By loading this ISO onto your drive (using a multi-boot tool like Ventoy), you can boot the machine from the outside. It provides a clean, sterile Linux-based environment focused strictly on offline scanning and recovery—completely free of adware and license prompts.
OK how do I run it? Do I just plug in the flash drive and double click the file on the drive?
The answer depends on which tool you are trying to use from your toolkit. Because you have two different types of tools on that list, they run in two completely different ways.
Here is exactly how to execute them on an infected machine:
1. The Portable Apps (MSERT & Sysinternals)
Yes, for these, you just plug in the drive and double-click the files. These run directly inside the infected Windows environment.
Flip the switch: Before plugging the USB into the infected computer, ensure your hardware write-protect switch is in the "locked" or "read-only" position.
Plug it in: Insert the flash drive and open it in File Explorer.
Run as Administrator: Do not just double-click normally. You must right-click the file (e.g., msert.exe, Autoruns64.exe, or procexp64.exe) and select "Run as Administrator." * Why? Malware often runs with high system privileges. If your scanner doesn't have Administrator rights, it won't have the permission to kill the malicious processes or delete the infected files.
2. The Bootable ISO (Norton Bootable Recovery Tool)
No, double-clicking the .iso file inside Windows will not work. This tool is designed to run completely outside of the infected operating system. If you try to open the ISO inside Windows, it will just mount it like a virtual DVD.
To use Norton (or any rescue ISO), you have to intercept the computer before Windows even starts:
- Prep the drive: First, you need a utility like Ventoy installed on your flash drive. Ventoy formats the drive so that it becomes bootable. Once Ventoy is installed, you simply drag and drop the norton_bootable.iso file onto the flash drive.
- Plug it in and Reboot: Insert the flash drive into the completely powered-down infected machine. Turn the computer on.
- Trigger the Boot Menu: As soon as the screen lights up, you must repeatedly tap the computer's Boot Menu key (usually F12, F8, F10, or F11, depending on the manufacturer) until a menu appears.
- Select the USB: Choose your flash drive from the list.
- Launch the Tool: The Ventoy menu will appear on the screen, listing the Norton ISO. Select it, hit Enter, and the computer will load the Norton Linux-based rescue environment instead of the infected Windows OS.
Sysinternals Suite
To run the Sysinternals Suite (specifically Autoruns and Process Explorer) from your flash drive, you will follow the "double-click" method, but with two very important technical steps to make sure they work correctly on an infected machine.
Here is the exact step-by-step process:
Step 1: Extract the Files First
When you download the Sysinternals Suite from Microsoft, it downloads as a single compressed .zip file.
Do not just copy the
.zipfile to your flash drive.Right-click the downloaded zip file on your clean computer, select Extract All, and choose your flash drive as the destination.
Alternatively, you can just extract the specific files you need into a folder on your drive. Look for
autoruns64.exeandprocexp64.exe(the "64" versions are for modern 64-bit Windows computers).
Step 2: Set the Write-Protect Switch
Before plugging the USB into the target computer, flip the physical write-protect switch on your flash drive to the locked/read-only position. This ensures the infected computer cannot alter or corrupt your Sysinternals utilities.
Step 3: Run as Administrator (Crucial)
Plug the flash drive into the Windows computer you want to check.
Open the flash drive folder and locate
autoruns64.exeorprocexp64.exe.Do not just double-click. Right-click the file and select Run as Administrator.
Why this matters: Deeply embedded malware often runs with high-level system privileges. If you just double-click normally, Sysinternals will run with standard user privileges, meaning it won't have the permission to see hidden malicious registry keys or terminate locked processes.
Step 4: Accept the EULA
The very first time you launch any Sysinternals tool on a specific computer, a small pop-up box will appear asking you to accept the Microsoft Software License Terms. Click Agree. It will not ask you again on that machine, and it will immediately launch into the program interface.