Setting Up A Shared Server
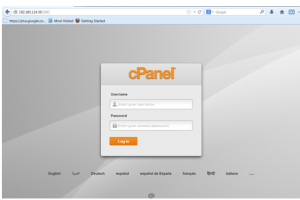
Setting up your shared server is relatively easy. Since all the scripts are usually there for you just to click and install all you will have to do is follow the steps below. When you buy hosting space you will receive an IP address and usually a cPanel where you can log in instantly. You can do this even before your name server is propagated. Until then you will see a parked page like below until the domain resolves to the server.

Step #1
Use the IP address and log in information that your hosting provider sent you. Hopefully they gave you a cPanel if they did not you will have to research with that hosting company to see what the process is. Usually they are all similar to these steps. Type into your browser http://123.456.789.10/cpanel and that will take you to a log in screen that looks like below.
Step #2
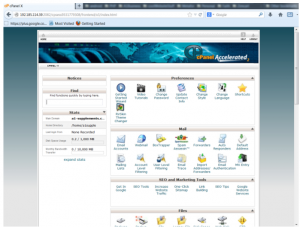
After you log into your cPanel you should see a bunch of icons that look like below. You will want to navigate to quick installs.
Step #3
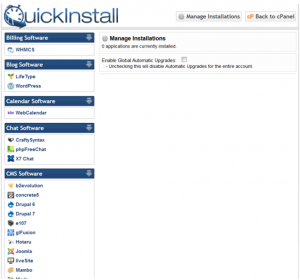
After you click “Quick Installs” you will see a screen like below. Click on the quick install for WordPress.
Step #4
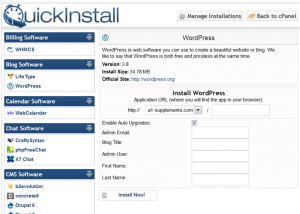
Fill out all the information that is required. You will be given a password after you fill out this information and click install now. See graphic below.
Step #5
After you click the install button you will see a screen like below. This information will also be emailed to the email that you filled in in step 4.
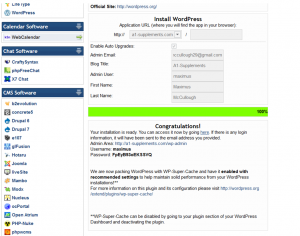
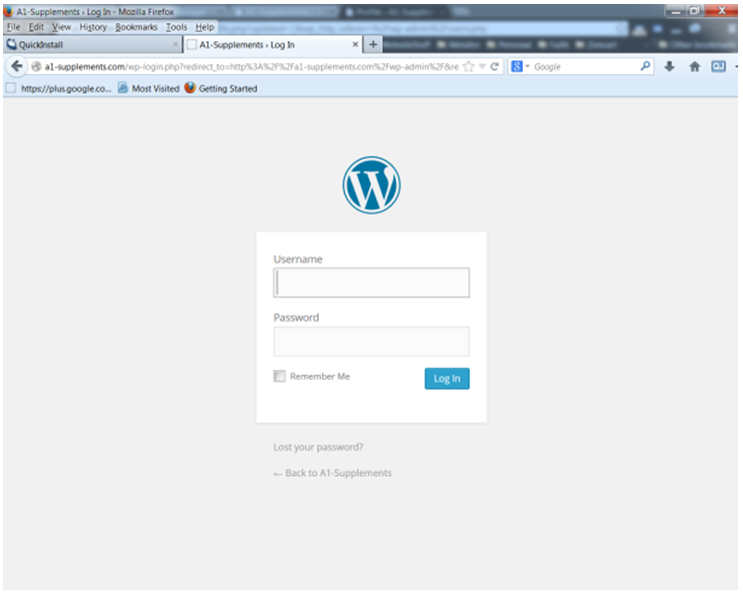
Step #6
After clicking the link provided you will be queued to log into your WordPress CMS. Then you will be ready to go.

You will have default information on the front of your site until you customize the CMS to your needs.


 You will have default information on the front of your site until you customize the CMS to your needs.