
Install #fonts Ubuntu including free commercial fonts. This tutorial is for the #Ubuntu beginner level. #linux
Install Fonts Ubuntu
To install fonts on Ubuntu navigate to your home directory. Create a hidden directory named .fonts. Notice the period in front of the folder name.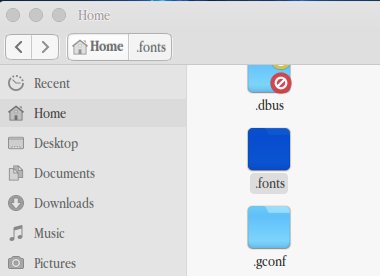 Now open your fonts directory and drag your ttf, otf or other font files that you have into the .fonts directory.
 After you have installed all the fonts you want then rebuild the fonts cache by entering this into the terminal.
fc-cache -f -v
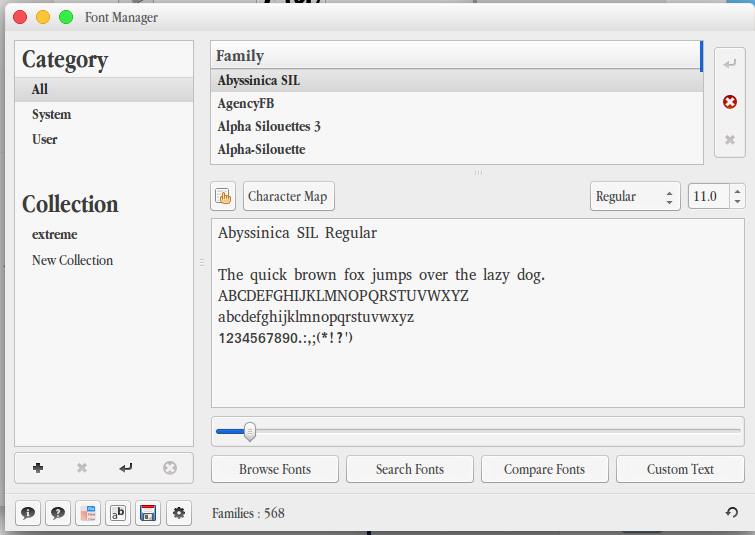
Use Ubuntu Font Manager
You may also use Ubuntu Font Manager to install fonts. Install the font manager by entering this into the terminal.sudo apt-get install font-managerThe font manager will look something like this when you have it installed. {remember that I have my ubuntu theme styled to look like a Mac} If you click on the cog icon on the bottom you will see where you can install new fonts.
Free Commercial Fonts
Get free commercial fonts @ fontsquirrel.com. I love these guys because they take the hard work out of finding fonts that we can use for commercial use. GO onto their website and check out their fonts. When you find the ones you like download them. Install them all at one time using the method above.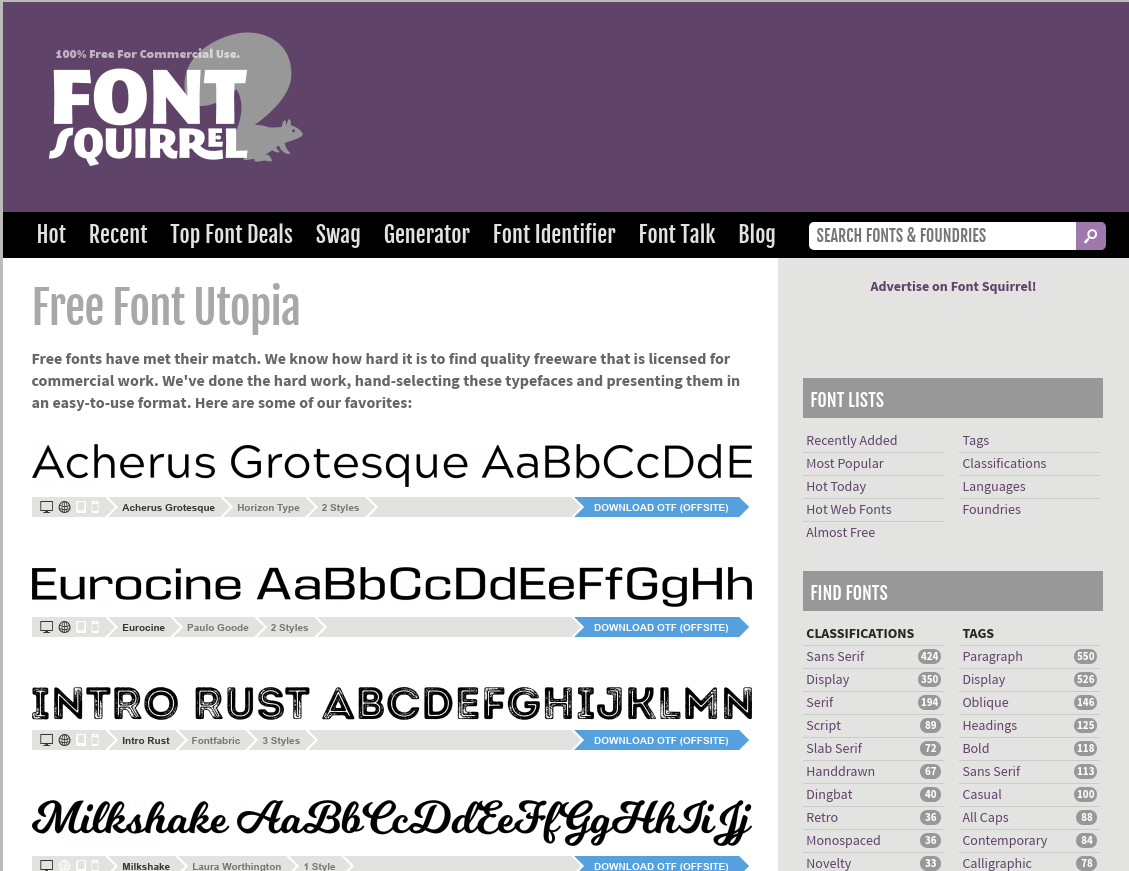 You are also free to use Google Fonts for your writings. If you need further assistance see our previous articles on using Google Fonts with WordPress.
Create Your Own Font
If you cannot find something that you like then you may want to create your own font. If you are on Ubuntu linux you can download Birdfont @ https://birdfont.org/. However if you are running Ubuntu 16.04 like me then use the terminal to install your birdfont application. Here is the command line to make that happen.sudo apt-get install birdfont