
In this how to tutorial I will show you how to move a large WordPress website from one server to another. In this tutorial I assume that you already know how to SSH into your server. You must already know these following things, if you do not, click the link and learn them and then come back here. There is a similar post that I made a while ago called Transfer WordPress Site New Domain or New Server (a1websitepro.com) and it is a little less techy.
Prerequisites For This Tutorial
You should be familiar with one of the following. You should be able to set it up.- SSH Terminals
- Linux Terminal - Already included in Linux Distros
- Mac Terminal - Already included on Mac OS
- Putty For Windows You will need to download this one for windows.
- WordPress
- MySql
- PHPMy Admin
- PHP
- New Ubuntu Linux Server Set Up
- Old Linux server should be in place.
MySQL Dump Database On Original Server
The first action we have to perform after we log in is to dump the MySQL database into a file that we can transfer. You will need 3 things from your WordPress database. You will find this information in the wp-config.php file.- Database Name
- User Name
- Password
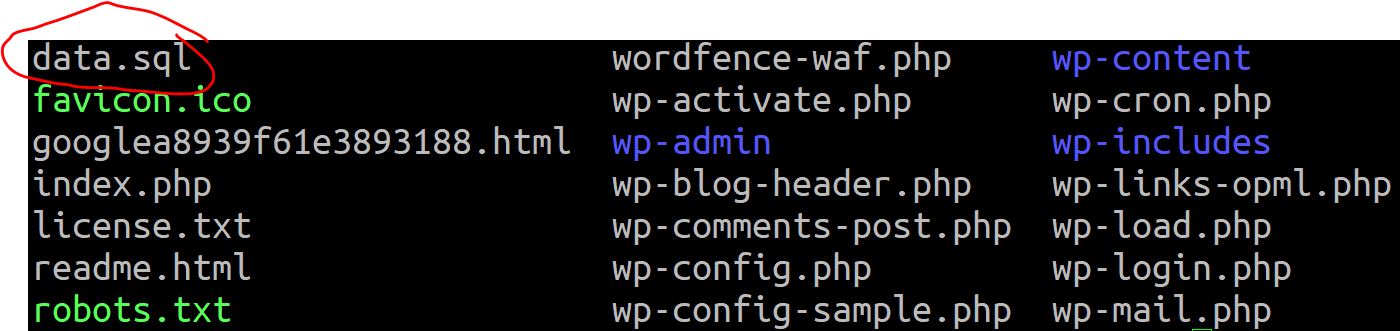
/** The name of the database for WordPress */
define( 'DB_NAME', 'database-name' );

/** MySQL database username */
define( 'DB_USER', 'database-user' );

/** MySQL database password */
define( 'DB_PASSWORD', 'database-password' );
When you logged into your terminal, you want to execute the following command to create a SQL file called data.sql.
mysqldump -u username -p database > data.sql
If you get the following error, then you need to use the --no-tablespaces tag.
mysqldump: Error: 'Access denied; you need (at least one of) the PROCESS privilege(s) for this operation' when trying to dump tablespaces
Here is how you do a mysldump with the notablespaces tag.
mysqldump --no-tablespaces -u database_name -p user_name > data.sqlNext, enter the password to the database. Note: you cannot see the password while to type it in. You should now see data.sql in the file list.
 Now, on the next page, we will zip all these files together recursively to transfer to the new server.
Zipping All The Files For Transfer
The next step we need to perform is to zip all the files together into one file. We have to do this recursively so that we will include all the files and folders into the zip file. Here is what you should enter in your terminal window. Please note that hidden files like your .htaccess file in WordPress will not zip. It is not a good idea to take them files anyway. If you want to transfer your htaccess file with the rest of your files run this command before you run the bk.zip command.zip htaccess.zip .htaccess
Now enter the following command.
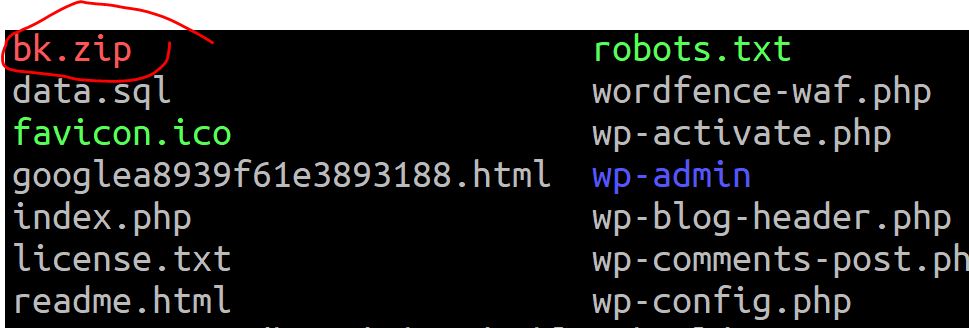
zip -r bk.zip *
If you do not have zip installed on your Linux server, then you can easily install it using the code below.
sudo apt install zip
To check the version of zip that you have on the server, you can enter the code below.
zip -v
Just in case you need to install the unzip command, here it is.
sudo apt install unzip
Now you should see bk.zip on the file list.
 Now you are ready to SSH into the new server and transfer your file. We will discuss this on the next page.
Transferring File In Terminal on New Server
Now you are ready to pull the file off of your original server onto your new server. Log into your new Linux server through your terminal. After you log in, make sure you are in the right directory! Once you are in the correct directory, enter the following command.wget https://youroldwebsite.com/bk.zip
This will bring over your bk.zip file onto your new server. If you do not have the wget feature, you can install it with the following command.
apt-get install wget
To confirm that you have wget installed, enter the following command.
dpkg -l | grep wget
You can also check the version of wget by entering this command.
wget --version
RHEL, CentOS and Fedora distro's
If you have RHEL, CentOS and Fedora distro's you want to use this command to install wget.yum install wget
To confirm on these distros.
rpm -qa | grep wget
If you need any other distros with the wget command please see How to Install Wget in Linux (tecmint.com).
Now that you have your bk.zip file, it is time to unzip it. Again, make sure that you are in the correct directory! Enter the following command to unzip your bk.zip file.
unzip bk.zip
If you need to install zip on your new server, see the previous page.
Removing Files in Terminal
Now that you already have your bk.zip file unzipped you can remove it. You can remove the file by entering the "rm" command.rm bk.zip
Now that you have your files in place it is time to import your data.sql file into your database. We will discuss this on the next page.
Importing SQL File Into Your Database
From the list of files that you have on your new server, you will see your data.sql files that you dumped earlier. We will need to import that into your new database. You will need the new database name, database username and database password for this process. Here is the command to enter in the terminal.mysql -u username -p database-name < data.sql
Enter your password next, you cannot see yourself typing the password so make sure you enter it correctly.
You can check your PhpMyAdmin to see if it looks right.
Alternative Way Of Checking MySQL
There is another way to check to see if your database imported correctly in terminal. Here are the steps to check. Enter this code.mysql
After you enter the command you will see that you are in mysql. The terminal line will look like this "mysql>". Once you see that enter in the following code.
SHOW DATABASES;
MySQL will print out a list of databases that it has. Now you want to see that database that you imported your sql file into so use this command. You want to, of course, type the name of your database after the USE command.
USE train;You will get a message that states, "Database changed". Now enter this command.
SHOW TABLES;
You will see a printout of all the tables in your database. If it looks like wordpress tables then you are done confirming that the database has been improted properly. Type the following command to exit MySQL.
exit;Then MySQL will print the message "Bye". On the next page we will edit the wp-config.php file.
Edit The wp-config.php File
Almost done with the server, the only thing that you need to do now is edit the wp-config.php file. We are going to use nano for the editor here since we are working in the terminal. So type in the following command.nano wp-config.phpThis will bring up the wp-config.php file. You need to change the database name, username and the password so that WordPress can connect to your database.
/** The name of the database for WordPress */
define( 'DB_NAME', 'database-name' );
/** MySQL database username */
define( 'DB_USER', 'database-user' );
/** MySQL database password */
define( 'DB_PASSWORD', 'database-password' );
Note that when you are using nano in terminal that you can use your up, down, left and right arrows on your keyboard to navigate. After you have entered the correct information you want to press "Control O" at the same time then press enter on your keyboard to save the file. Then you can press "Control x" to exit nano. If you do not have nano installed on your system you can install it by entering the following code.
sudo apt install nanoIf you are on CentOS or RHEL you can use this command to install nano.
sudo yum install nano
For more information on nano see this post How to Install Nano & Use Text Editor Commands in Linux (phoenixnap.com)
To check the nano version that you have, enter the following code.
nano --verionNow that you have your website files and database in the correct locations it is time to change your DNS. I will show you how to do this on the following page.