In Libre Office Writer lets do a menu overview and go over the layout. Knowing where things are is going to make you more efficient when it comes to this application. The good news about Libre is unlike many other writing programs it is not going to change on you every time there is an update. So lets get started.
Libre Office Writer Text Menu Verse Icon Menu
The Idea that there is both a text menu and an Icon menu confuses some. The icon menu was created to make it easier to navigate but I do wonder if this was a two edge sword for some. Please remember that you can control the icons for the most part and it is up to you what you do and do not want there.Icon Layout
Consider please these two different layouts. The first one is obviously different than the second one in that the first graphic has a formatted option and the second screenshot does not reveal a formatted option. Notice in the yellow highlight there you can see the formatted options in the graphic below it is turned off. Highlighted Format Option in Libre Office Writer
 Unformattted option Libre Office
Turning Formatting Options On and Off
If you want to turn this option on or off go to the "view" menu item. Hover over "Toolbars" and the click the box called "Formatting". You will notice as you do this that there are several different options to choose from. Feel free to customize it to fit your style of writing.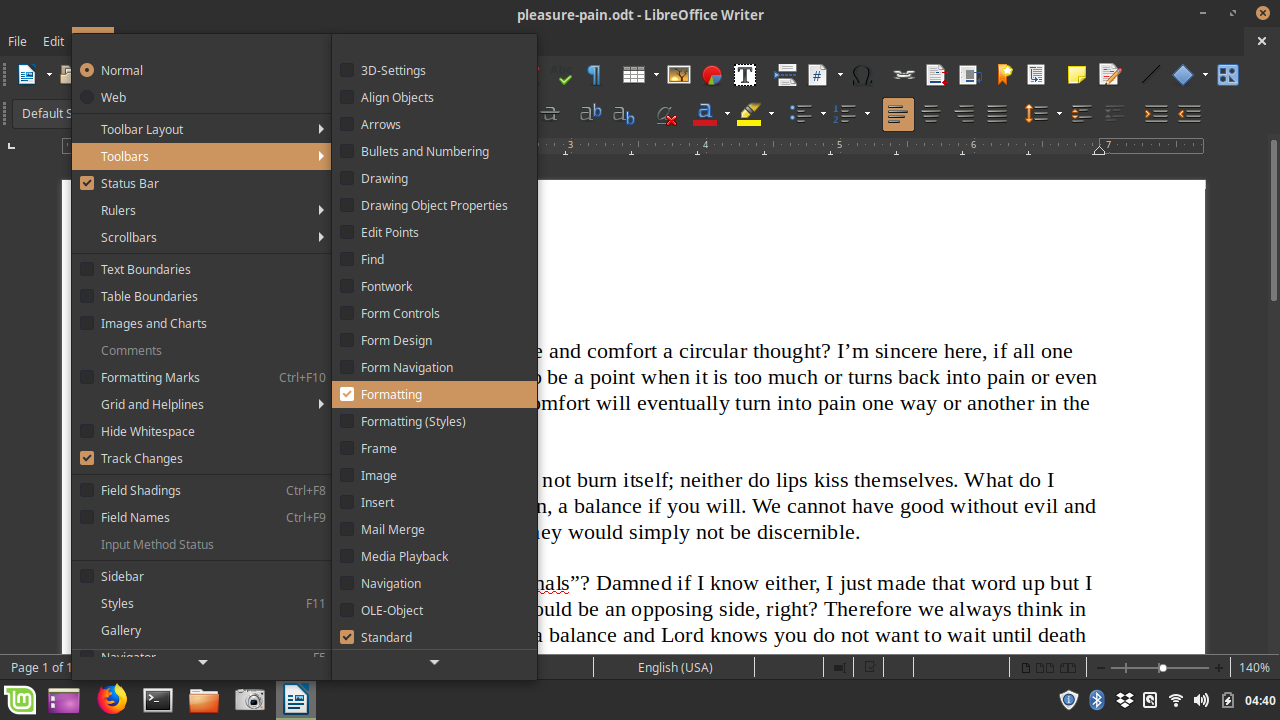 Turning Options on or Off in Libre
The Text Menu and Icons Match
Please note that the text menu and icons match but not totally. For example you will not find the "help" item in an icon. You must simply go up to the "help" text menu item and click on it to get those options. So lets go over a few matching text and icon menu items in Libre Office, shall we? Lets also not forget that there are "Quick Keys" so once you get to be a more advanced user you can take advantage of optimizing your workflow with this feature. So once you have Libre Office installed on your computer open up "Writer". There you should see an empty document waiting for your greatness to be filled into its blank pages.New File Libre Office Writer
While you have to program open on your screen you can simply hit the quick keys "Control > N" and that will create a new Libre Office Writer Document for you. There are also two other ways to accomplish this. You can click on the writer icon that looks like this. new file
Then there is the old fashion tried and true go to "File>New>Text Document".
new file
Then there is the old fashion tried and true go to "File>New>Text Document".
 Writer New Text Document
Libre Office Writer Cheat Sheet
I thought it was appropriate that we have a Libre Office Writer Cheat Sheet. This can help us streamline our work and not have a bunch of unnecessary text. Here are a few commands that you will be using quite often. We will be going over more as we progress through the lessons.| Action | Path | Quick Key | Icon |
| New File | File > New > Text Document | Ctrl/N |
|
| Open File | File > Open | Ctrl / O |
|
| Save File | File > Save | Ctrl / S |
|