This tutorial will show you how to use cloudflare DNS as a CDN {Content Delivery Network}. the process is fairly simple. You will have to log into 2 places. First log into your domain registrar and then Cloudflare.
How To Use Cloudflare
The first thing that you want to do is start an account at cloudflare.com if you have not done so already. Once you have the account set up look to the top right hand side of your screen and you will see where it says, "Add A Site".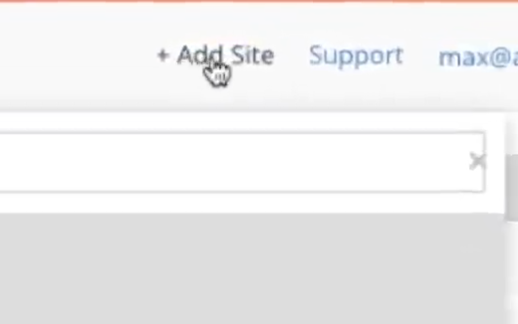 When the box appears enter the name of the site that you will run through Cloudflare.
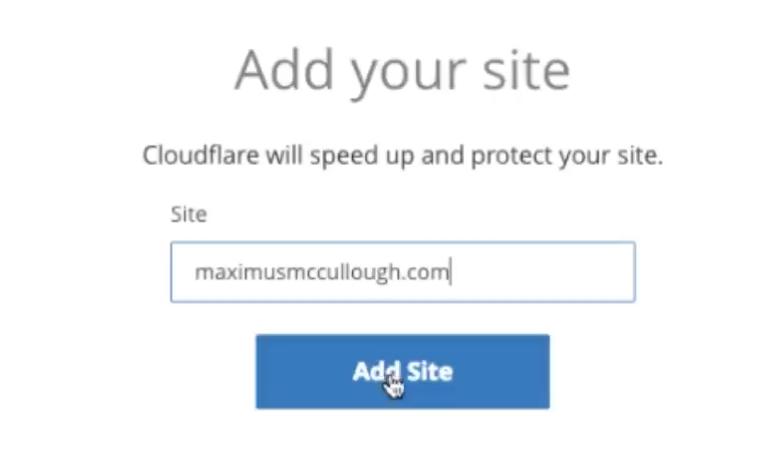 Enter the URL of your website
You will then get a message that says that Cloudflare is crawling your DNS system. Just click on the next button to continue.
Next Cloudflare will want to know what kind of plan you want to be on. We are selecting the Free plan in the graphic below.
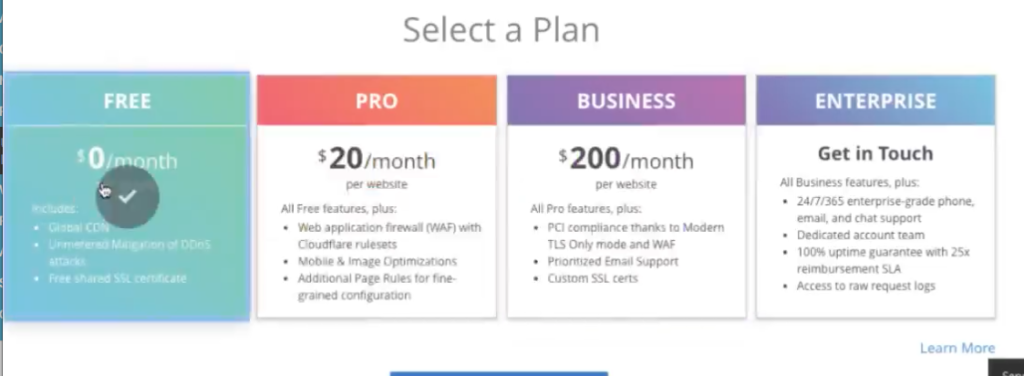 Select Your Cloudflare Plan
Cloudflare DNS
Now you will see the settings that Cloudflare has for your DNS. You can change them now or later. Click the continue button in blue at the bottom.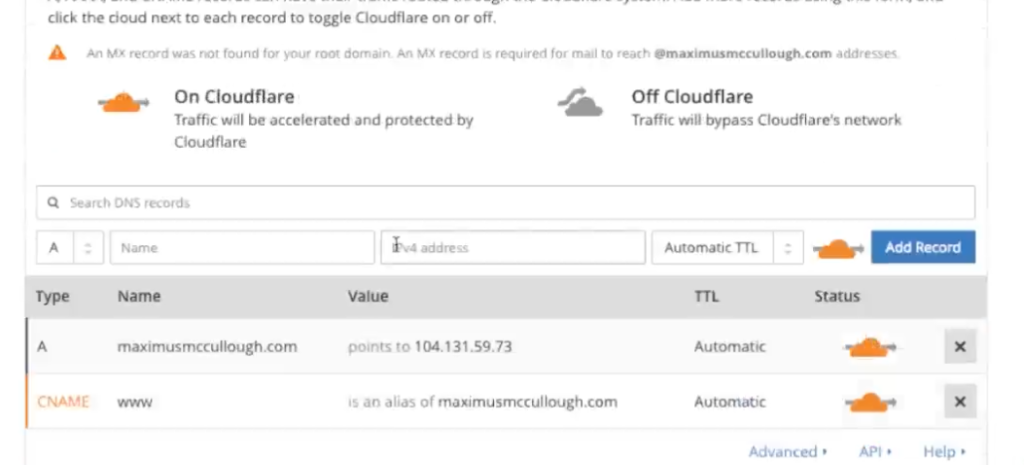 DNS Records At Cloudflare
On the next screen you will be given custom nameservers to point your domain to. This is so cloudflare can act as your DNS. Copy the name server names. You will be entering them at your domain registrar.
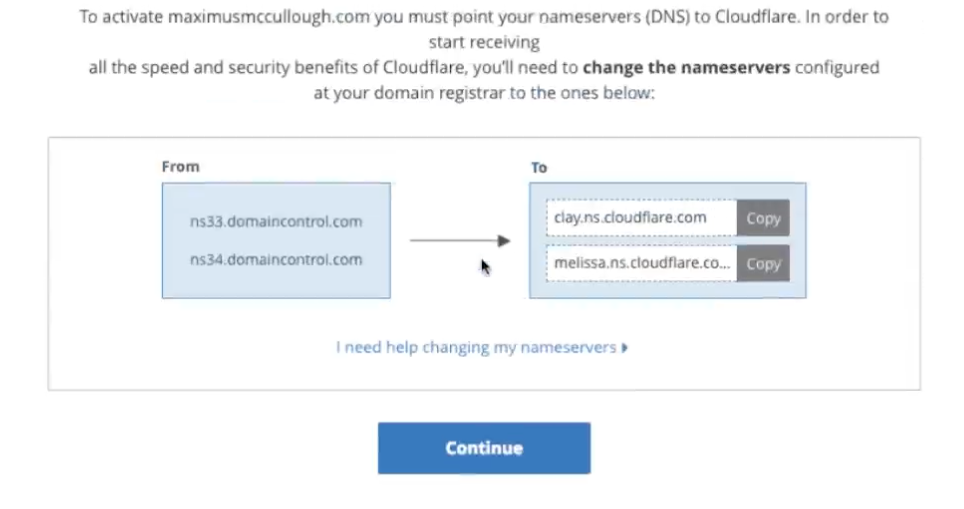 Copy Nameservers From Cloudflare
Go To Your Domain Registrar To Change Nameservers
Now we are going to head on over to our domain registrar to change the name servers. Look for DNS settings once you log in at your registrar.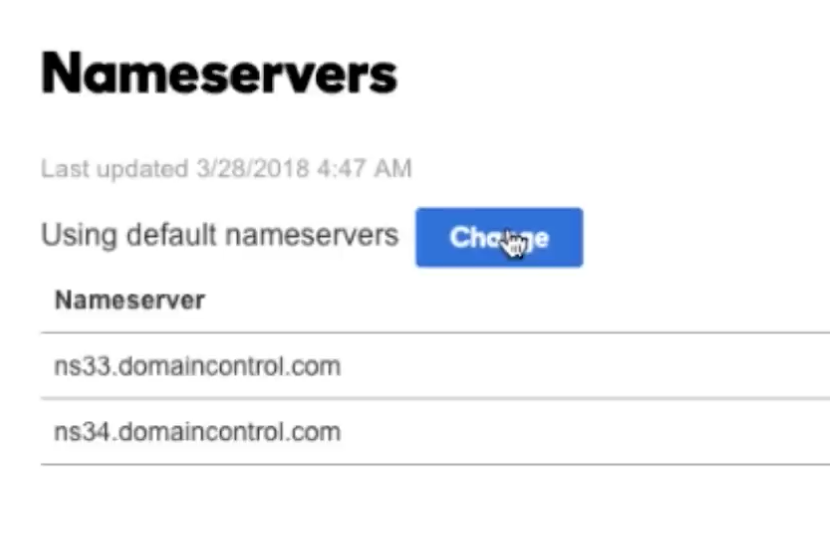 Change Nameservers At Registrar
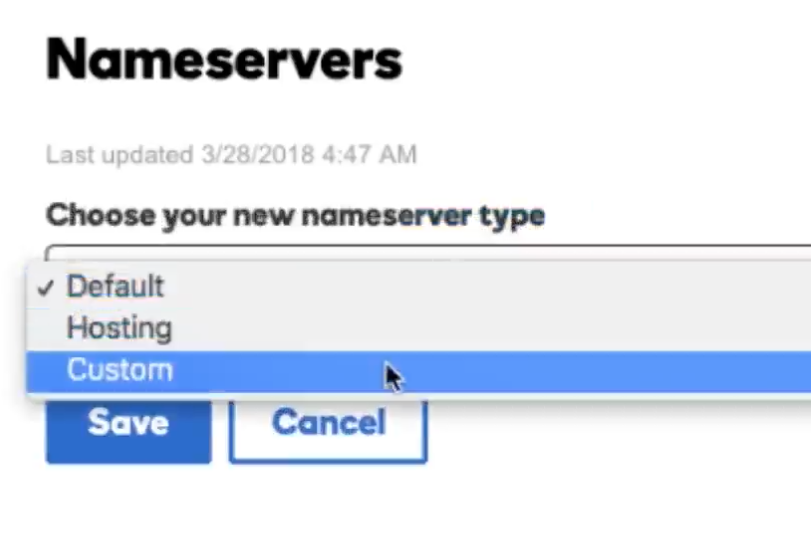 Select Custom Nameserver
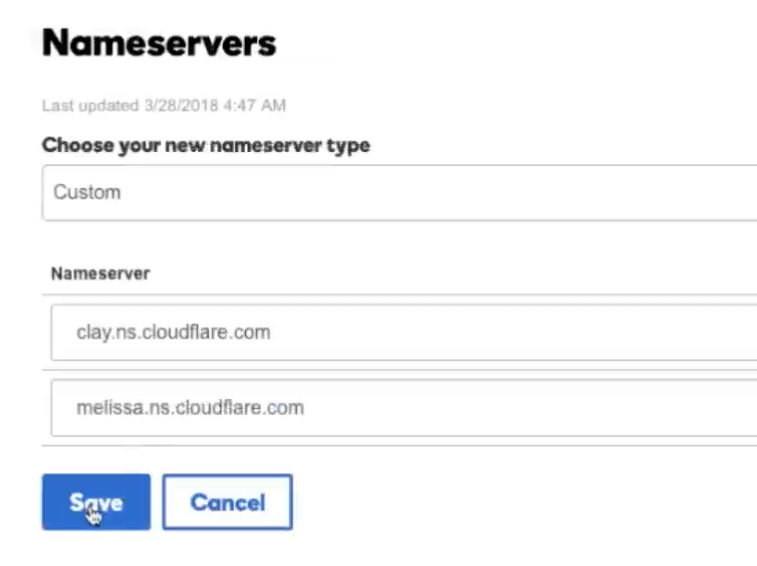 Save the new nameserver settings at registrar
Back To Cloudflare
Go back to cloudflare and hit continue. Cloudflare will now check if you have done it right or not.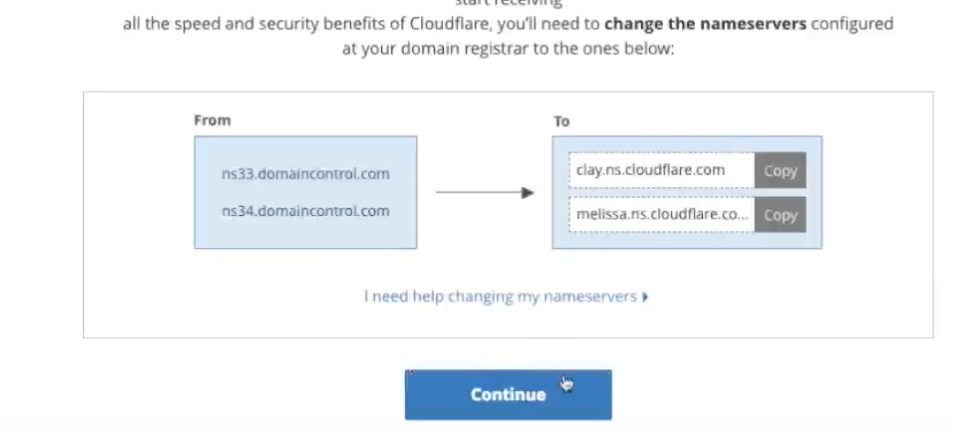 Go back to Cloudflare and click on continue
Now that you saved your name server settings Cloudflare becomes your new DNS. Cloudflare will serve your scripts through their Content Delivery network. This will make your site load faster in all parts of the word. You can check your DNS settings and more at Cloudflare.
