In this tutorial we will Install Server PHP MySql Amazon Web Hosting via SSH.
SSH Connection Install Server PHP MySql Amazon Web Hosting
When you are in your Amazon EC2 dashboard under "instances". Click on the connect button.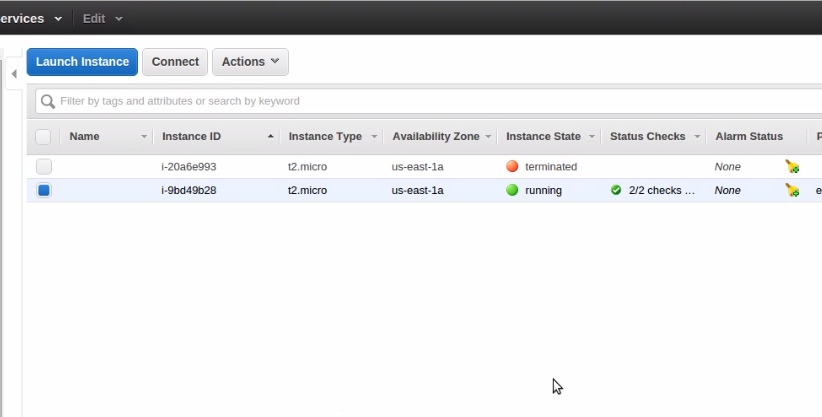 Click Connect Button
Grab your SSH connection details and pate it into a notepad document.
Click Connect Button
Grab your SSH connection details and pate it into a notepad document.
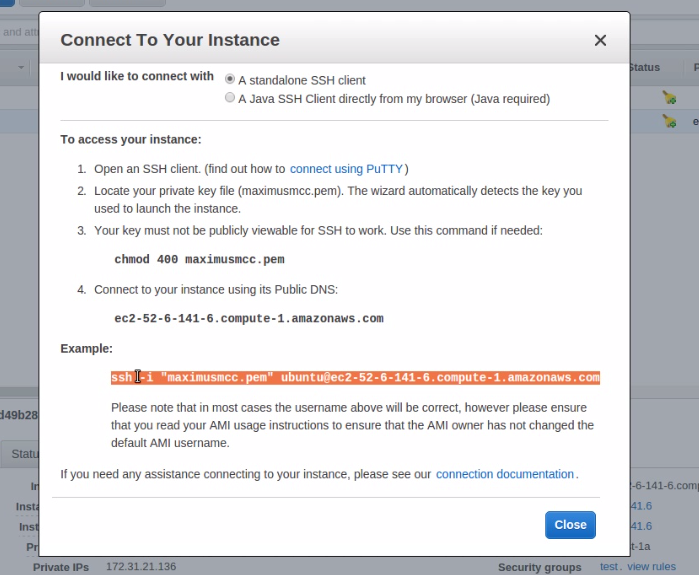 Grab SSH Connection details
Click close and next copy your elastic IP address.
Grab SSH Connection details
Click close and next copy your elastic IP address.
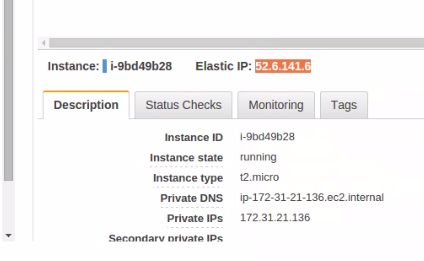 Grab Elastic IP address
Now make your notepad file look like this. Replace Amazon Defaults with the Elastic IP address. This is so we will have quick access when we are working in the terminal.
Grab Elastic IP address
Now make your notepad file look like this. Replace Amazon Defaults with the Elastic IP address. This is so we will have quick access when we are working in the terminal.
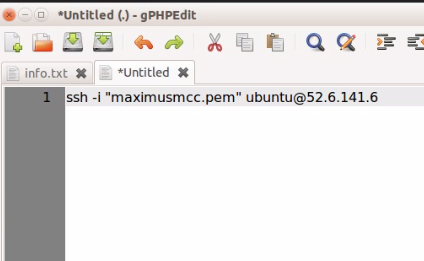 Replace Amazon Defaults with the Elastic IP address
Move your PEM file to a directory where you will know where it is. Here I am moving my .pem file to my home directory on my local machine.
Replace Amazon Defaults with the Elastic IP address
Move your PEM file to a directory where you will know where it is. Here I am moving my .pem file to my home directory on my local machine.
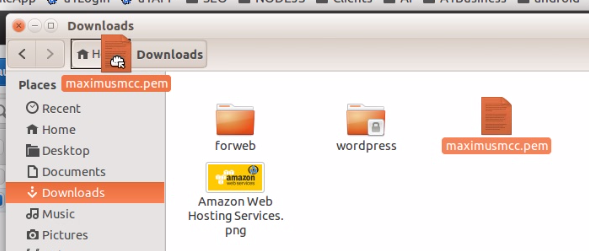 Move PEM file to a directory on your computer
Start your terminal. This could be a terminal in Mac or Putty on windows. I use a Linux operating system. Paste in your connection in your terminal. If you are having issues you might have your PEM file in the wrong folder!
Move PEM file to a directory on your computer
Start your terminal. This could be a terminal in Mac or Putty on windows. I use a Linux operating system. Paste in your connection in your terminal. If you are having issues you might have your PEM file in the wrong folder!
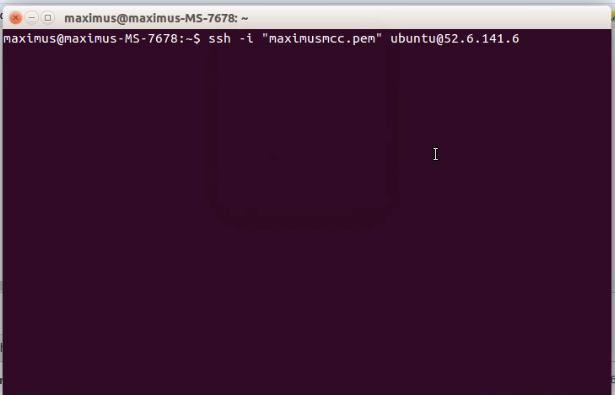 Paste in your connection in your terminal
If it asks you about any fingerprint key make sure you answer "Yes".
If you get any warnings about security enter this into the terminal. You of course would enter the name of your pem file.
Paste in your connection in your terminal
If it asks you about any fingerprint key make sure you answer "Yes".
If you get any warnings about security enter this into the terminal. You of course would enter the name of your pem file.
chmod 400 maximusmcc.pemWhen you are successfully connected you will get a screen that looks like this.
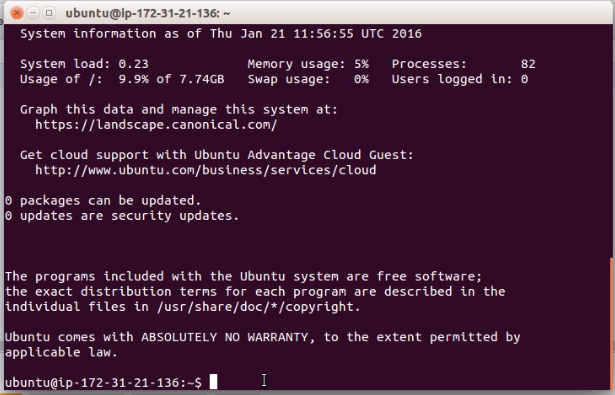 Successful Connection
Log in as "root" by typing in the following.
Successful Connection
Log in as "root" by typing in the following.
sudo suAfter you are logged in as root enter the following commands.
apt-get install apache2 mysql-server php7.0 php7.0-mysql libapache2-mod-php7.0If it asks you if you want to continue type in "y". Next you will have to set a root password for mysql. you will have to enter it twice. It is IMPORTANT to save this password. You WILL need it later!
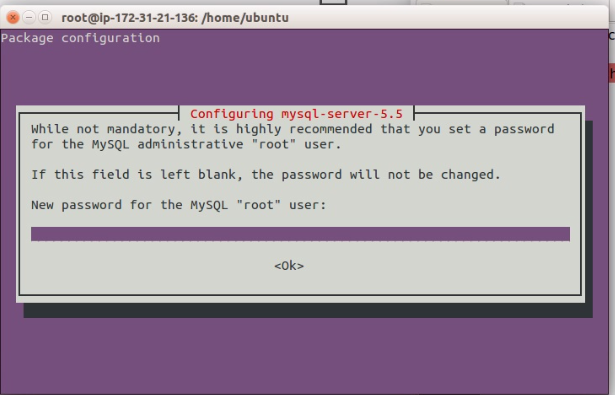 Set Root Password for MySql
Now the system will finish the install of everything that you will need.
Enter your elastic ip address into a browser and you should see a page that looks like this.
Set Root Password for MySql
Now the system will finish the install of everything that you will need.
Enter your elastic ip address into a browser and you should see a page that looks like this.
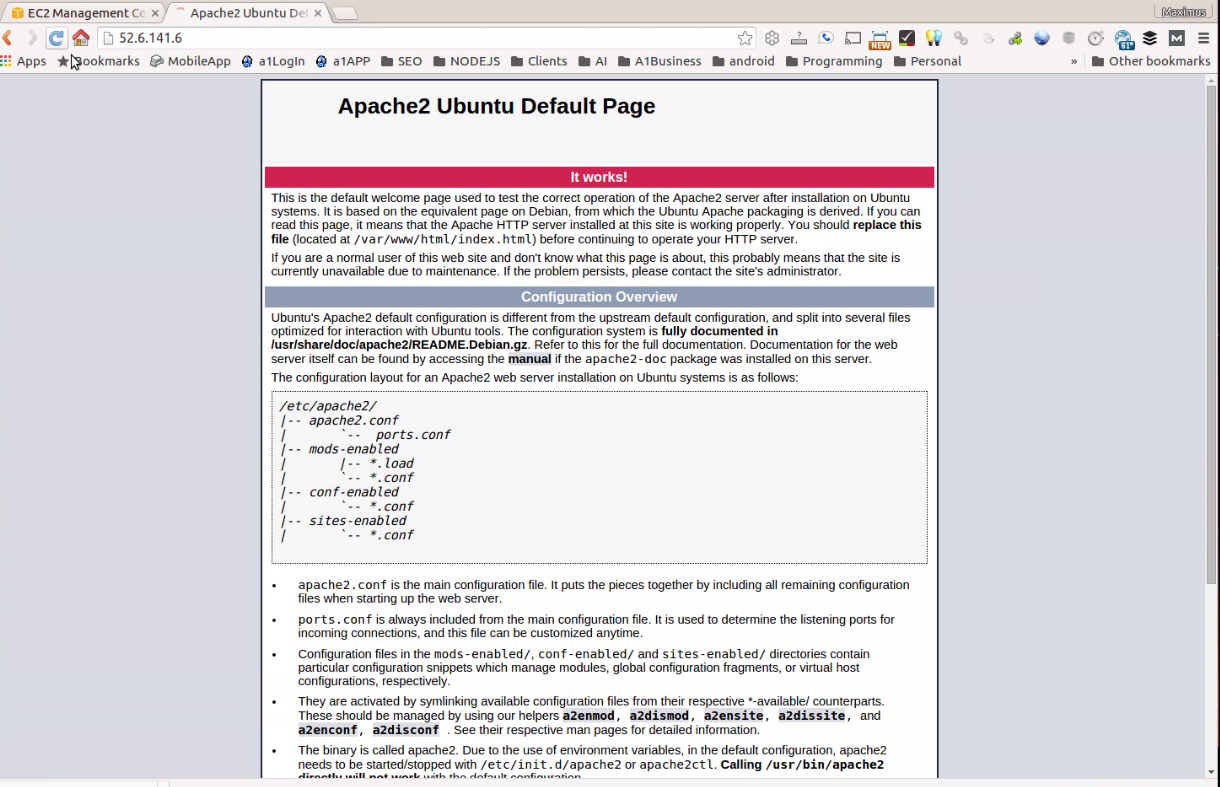 Apache installed Successfully