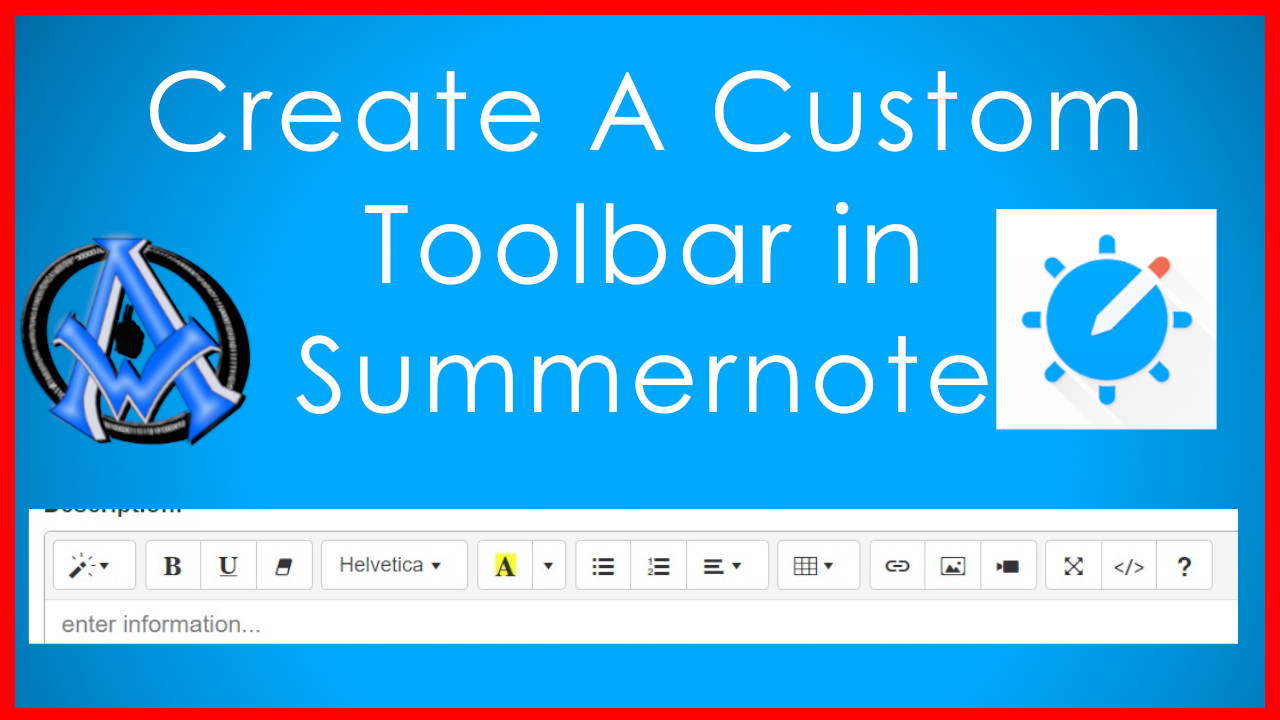
To create a custom toolbar in Summernote, you will need to modify the toolbar option during initialization of the Summernote editor. Here’s an example of how you can create a custom toolbar:
 $(document).ready(function() {
      var customButtons = [
        ['style', ['style']],
        ['font', ['bold', 'italic', 'underline', 'clear']],
        ['para', ['ul', 'ol', 'paragraph']],
        ['insert', ['link', 'picture', 'video']],
        ['table', ['table']],
        ['view', ['fullscreen', 'codeview']]
      ];

      $('#editor').summernote({
        toolbar: customButtons,
        height: 300
      });
});
In this example, we created a variable of customButtons then we added what we wanted. We can also take out more if we didn’t want them in there. For example; if I wanted to take out the button to add a link, I would remove the “link” option for the “insert” line. You can also remove the button for picture and video in this line as well.
You can customize the toolbar to include any of the available Summernote buttons or any custom buttons you have created. To create a custom button, you can add a new array element to the toolbar option and specify the name of the button, and then define the button’s behavior using the buttons option.
Here’s some more information on how to create a custom toolbar in Summernote:
- Specify the toolbar options: When initializing the Summernote editor, you need to specify the toolbar options using the
toolbaroption. Thetoolbaroption is an array of arrays, where each inner array represents a group of buttons in the toolbar. The inner arrays can contain button names as strings, or a custom button configuration object. - Add custom buttons: To add a custom button to the toolbar, you need to add a new array element to the
toolbaroption. The array should contain the name of the button and any additional configuration options for the button. - Define the button behavior: To define the behavior of a custom button, you can use the
buttonsoption when initializing the Summernote editor. Thebuttonsoption is an object where each property represents a custom button. The value of each property is a function that will be called when the button is clicked.
Here’s an example of how you can create a custom button with a dropdown menu:
$(document).ready(function() {
  $('#summernote').summernote({
    toolbar: [
      ['style', ['bold', 'italic', 'underline']],
      ['custom', ['mybutton']],
      ['para', ['ul', 'ol']],
    ],
    buttons: {
      mybutton: function(context) {
        var ui = $.summernote.ui;

        // create button dropdown
        var dropdown = ui.dropdown({
          className: 'dropdown-toggle',
          contents: '<i class="fa fa-caret-down"></i>',
          tooltip: 'My Button',
          data: {
            toggle: 'dropdown'
          }
        });

        // create dropdown menu items
        var menu = $('<ul class="dropdown-menu"></ul>');

        menu.append('<li><a href="#" data-value="value1">Option 1</a></li>');
        menu.append('<li><a href="#" data-value="value2">Option 2</a></li>');
        menu.append('<li><a href="#" data-value="value3">Option 3</a></li>');

        // add dropdown menu to button dropdown
        dropdown.append(menu);

        // add click event listener to menu items
        menu.find('a').on('click', function(event) {
          event.preventDefault();
          var value = $(this).data('value');
          context.invoke('editor.insertText', value);
        });

        // add button to toolbar
        return dropdown.render();
      }
    }
  });
});
In this example, we have added a custom button called mybutton to the toolbar, and we have defined its behavior using the buttons option. The mybutton function creates a dropdown menu using the ui.dropdown method, and adds menu items using jQuery. Finally, it adds a click event listener to each menu item, which inserts the selected value into the editor using the context.invoke method.
Custom Buttons
We will talk more about creating custom buttons in a future tutorial. We touched on it in this tutorial because it is included in the toolbar. In this tutorial, we will focus on creating a toolbar that you want that is ready out of the box. With custom buttons, you also have to write your own functions to get them to work.
Scripts To Make This Work
You can use a CDN to load the Summernote editor and its dependencies. Here’s an example of how you can include Summernote using a CDN:
<link href="https://stackpath.bootstrapcdn.com/bootstrap/3.4.1/css/bootstrap.min.css" rel="stylesheet">
 <link href="https://cdn.jsdelivr.net/npm/summernote@0.8.18/dist/summernote.min.css" rel="stylesheet">
 <script src="https://code.jquery.com/jquery-3.5.1.min.js"></script>
 <script src="https://stackpath.bootstrapcdn.com/bootstrap/3.4.1/js/bootstrap.min.js"></script>
 <script src="https://cdn.jsdelivr.net/npm/summernote@0.8.18/dist/summernote.min.js"></script>
Full Scripts
Index script here.
<!DOCTYPE html>
<html>
<head>
  <title>Custom Summernote Toolbar</title>

    <link href="https://stackpath.bootstrapcdn.com/bootstrap/3.4.1/css/bootstrap.min.css" rel="stylesheet">
    <link href="https://cdn.jsdelivr.net/npm/summernote@0.8.18/dist/summernote.min.css" rel="stylesheet">
  <!-- Font Awesome Icons -->
<link href="https://cdnjs.cloudflare.com/ajax/libs/font-awesome/5.15.2/css/all.min.css" rel="stylesheet">
    <script src="https://code.jquery.com/jquery-3.5.1.min.js"></script>
    <script src="https://stackpath.bootstrapcdn.com/bootstrap/3.4.1/js/bootstrap.min.js"></script>
    <script src="https://cdn.jsdelivr.net/npm/summernote@0.8.18/dist/summernote.min.js"></script>
</head>
<body>
<form method="post">
  <div id="editor"></div>
  <button id="save-btn">Save</button>
  </form>

    <script>
    $(document).ready(function() {
      var customButtons = [
        ['style', ['style']],
        ['font', ['bold', 'italic', 'underline', 'clear']],
        ['para', ['ul', 'ol', 'paragraph']],
        ['insert', ['link', 'picture', 'video']],
        ['table', ['table']],
        ['view', ['fullscreen', 'codeview']]
      ];

      $('#editor').summernote({
        toolbar: customButtons,
        height: 300
      });
      $('#save-btn').click(function() {
  var content = $('#editor').summernote('code');
  // Send data to server using AJAX
  $.ajax({
    url: 'save.php',
    type: 'POST',
    data: {content: content},
    success: function(response) {
      console.log(response);
    }
  });
});
});

  </script>
</body>
</html>
Save Script Here
<?php
$content = $_POST['content'];
$file = 'test.html';

if (file_put_contents($file, $content) !== false) {
  echo 'Content saved successfully.';
} else {
  echo 'Error: Unable to save content.';
}
?>
You can add these script and link tags to the head section of your HTML document, before the script tag that initializes the Summernote editor. This will load the required dependencies for Summernote, including jQuery, Bootstrap CSS, and Summernote CSS and JavaScript.
Note that the Summernote CSS and JavaScript files come in two versions: one for Bootstrap 3 (summernote.css and summernote.js), and one for Bootstrap 4 (summernote-bs4.css and summernote-bs4.js). Make sure to include the appropriate version for your project.
With these dependencies loaded, you can then initialize the Summernote editor using the same code as in the previous examples.


A1WEBSITEPRO Social Media Pages
Here are my social media pages, lets hook up!