Want to know how to Point Nameservers To Amazon Web Hosting Services? In this tutorial we will learn how to do that.
Route 53 Domain Name Registration
Start by logging into your Amazon EC2 Account. Navigate to Route 53 Domain Name registration.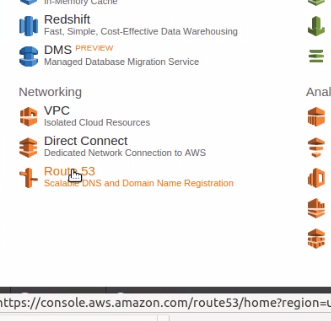 Route 53 Domain Name Registration
Click on DNS Management. This is if you already bought the domain. If you need to buy a domain name please go here. Then follow these instructions.
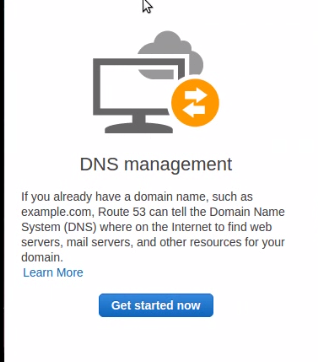 Click on DNS Management
Next click on Create Hosted Zone.
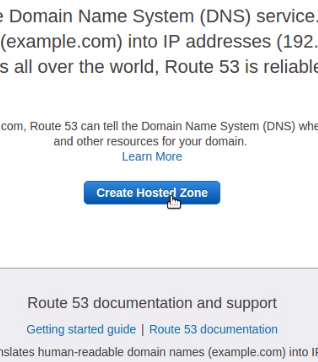 click on Create Hosted Zone
Click on create hosted zone again and enter the details of your website. The boxes for entering your website details is on the right. Click create after you have entered your domain name.
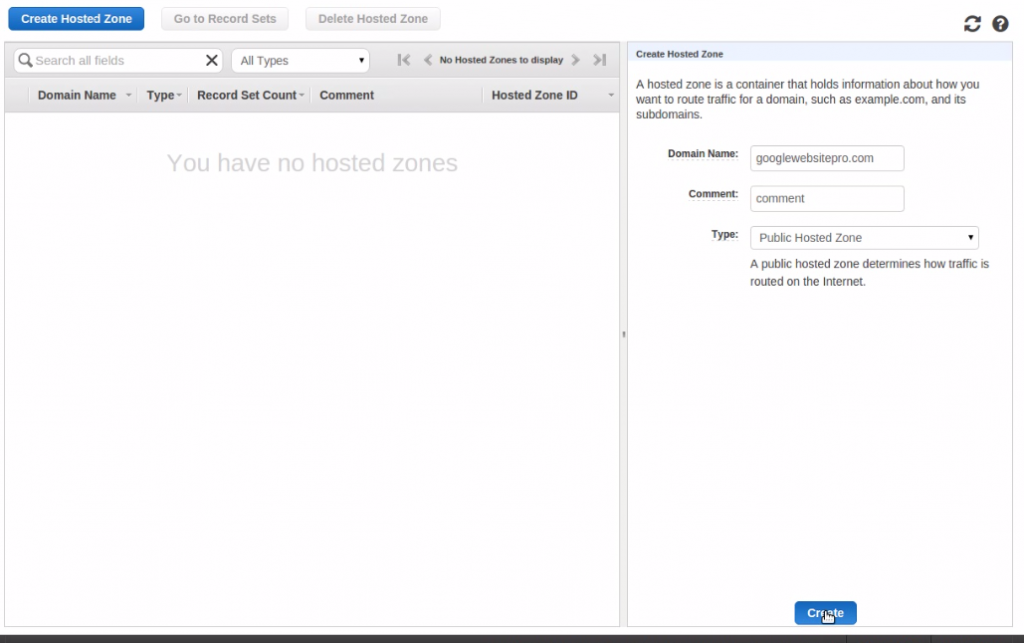 Enter Website Domains name and click create
Now you will see your name servers. Copy them down into a notepad.
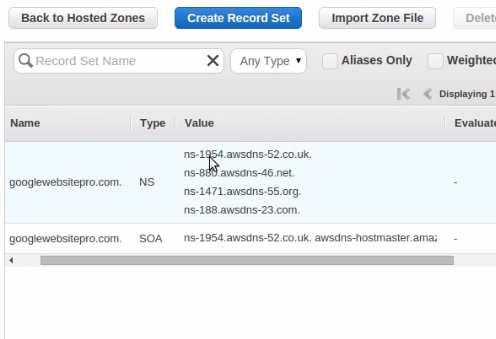 You Will See Your Nameservers
Log Into your domain registrar to change the name-servers. Navigate to the domain name. Choose custom nameservers.
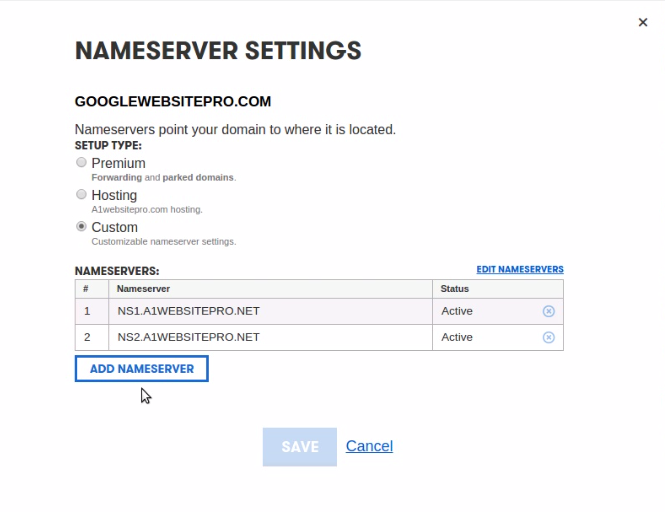 Custom Nameserver Settings
Add all the nameserves that Amazon gave you in the Route 53 Domain Name Registration. Then click save.
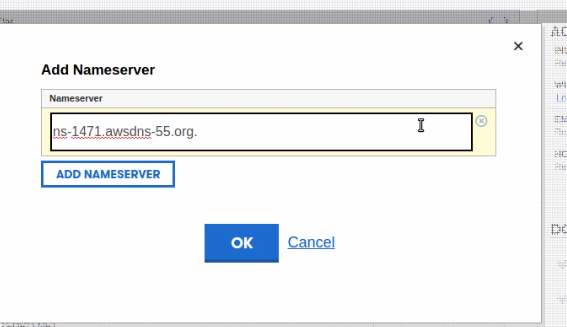 Add All Nameservers
