Here is an overview of GIMP selection tools for beginners. First save the image below to your computer and open it up in GIMP. You can save the file by right clicking over top of the image and click "save as". You can name the file whatever you like but be sure to remember where you placed it on your computer.
The Tools in GIMP
We will be going over all the selection tools in GIMP so that you can see what each of them do. Here is snapshot of the tools that we will be covering in this tutorial. It will be the first row across the top.
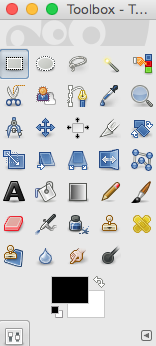
Gimp Tools
Notice that when you select one of these tools that you will get an extra box below it with other options. For example in the screen shot below I selected the rectangle selection tool and notice the other functions that are listed below. We will be covering what these will do for you when editing graphics.
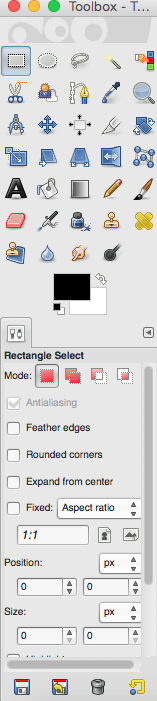
GIMP Rectangle Selection Tool
Selection Tools in GIMP
For detailed instructions see
Cut Out Sections Of An Image In GIMP
The first thing that you will see is the selection tools in GIMP in the top left corner of your screen. You can use these tools to select a portion of your graphic to cut out or enhance. Here is a list of the selection tools in GIMP.
- Rectangle selection tool.

- This will select a region within your graphic in the form or a square or rectangle.
- Ellipse selection tool.

- This will select a circle or oval shape selection within your graphic.
- Free Select tool.

- You can hand select by clicking on the sections of the graphic that you want to select with straight lines.
- Fuzzy select tool in GIMP.

- This tool will select all of a similar color within your graphic until it hits another color. For instance if you select this tool and hit the blue on the graphic you downloaded, it will highlight everything in blue.
- Color Selection GIMP Tool.

- The color tool will select everything that matches a color as well. However the difference between this tool and the fuzzy selection tool is that it will select all colors regardless of boundaries.
- Scissors select tool in GIMP.

- This tool is good for when you are trying to trace an image on the edges. It will try to select the pixels closest to your edges.
- Foreground Select tool in GIMP.

- You can select some of your image to cut out with the foreground GIMP selection tool. You will highlight the areas that you want to cut out and then you will automatically be given a paint tool to paint the regions of the image that are important. You can then copy that to a new layer without the background in it.
A simple example of the section tool function in GIMP.
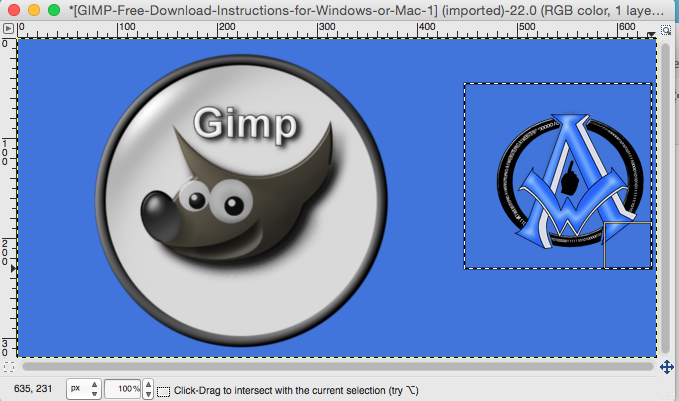
Open the graphic above that you downloaded in GIMP. Hit the rectangle selection tool. Hold your mouse down and drag over the a1websitepro logo. You should see a dotted square box around your selection.
Go up to "Edit" then "Cut" and you will see the logo disappear.
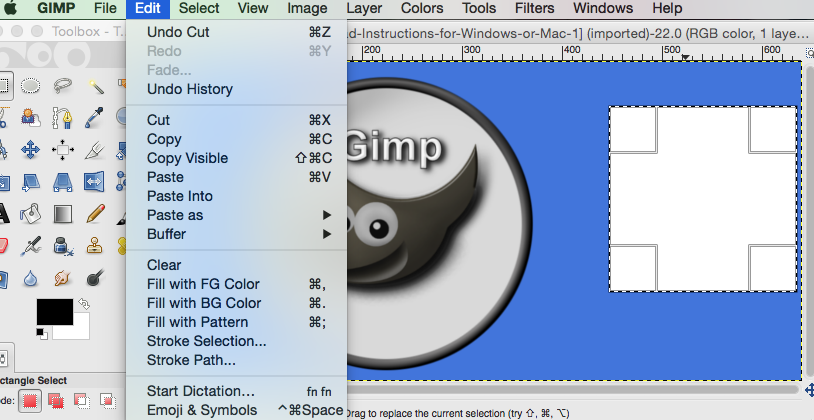
Go back up to "edit" then "paste" and you will see another layer created in your layers panel in GIMP. It will be called "pasted layer". You can see it all the way on the right in the graphic below.
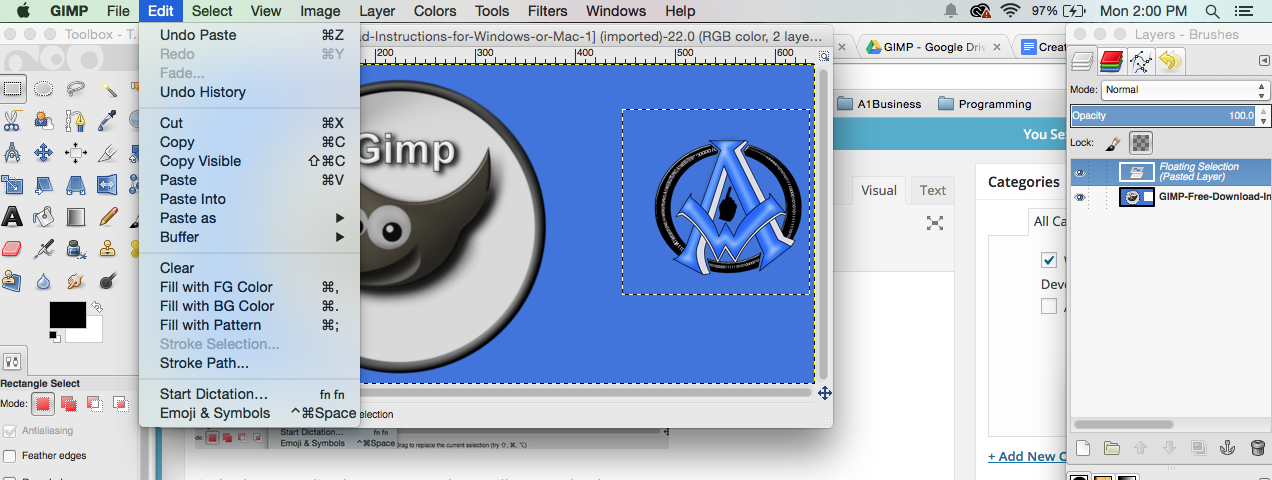
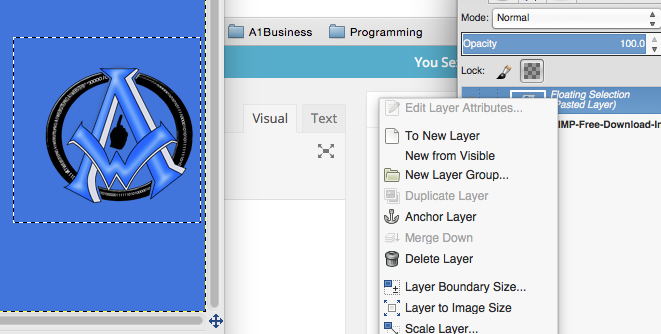
Now you can see that there are 2 different layers here within this graphic. You have to assign the new clip to a layer so that it is not a floating layer by right clicking on the floating layer and click "TO New Layer".
This is a brief overview of the selection tools in GIMP. There is still more to go over and we will have plenty examples for you to get familiar with the GIMP tools.