WooCommerce variation swatches and photos WordPress plug-in
Many people have the woocommerce platform and it is an awesome way to sell things in WordPress. Sometimes though there are plug ins that have a learning curve with them and the woocommerce variation swatches and photos WordPress plugin is such a plug in. I have made a video tutorial on this subject but it might be helpful to have all the steps written out for quick access to the important points. NOTE: this is an updated video here for the variations and swatches in WooCommerce.
Keep in mind if you need further help or one and one online live tutorial we can help. Just reserve a spot in the calendar below for a live one on one Q&A. We can use either Google Hangouts so you can see the screen or Skype. Just make sure that you have either of those installed before the appointment time so we can get started quickly with the one on one tutorial. This is a non-refundable fee so make sure that you do not forget your appointment.
[APPOINTMENT_CALENDAR_FORM_WILL_APPEAR_HERE]
Step #1 Variation Swatches set up your pictures.
Make sure that your photos are all the same size and optimized for the web. The first part of the video tutorial will show you how to do this effectively. I used Photoshop in this video tutorial. Set your base image then layer the rest on top of that image. You will see clearly how to do this in the tutorial posted at the end of this page.Step #2 setting up the attributes for woocommerce swatches and variations.
Part 1
 Now that we have our images optimized and ready we can begin with setting up the attributes. Go to your dashboard and click on products then you will see the attributes appear. Click on the attributes link.
Part 2 Add Attribute
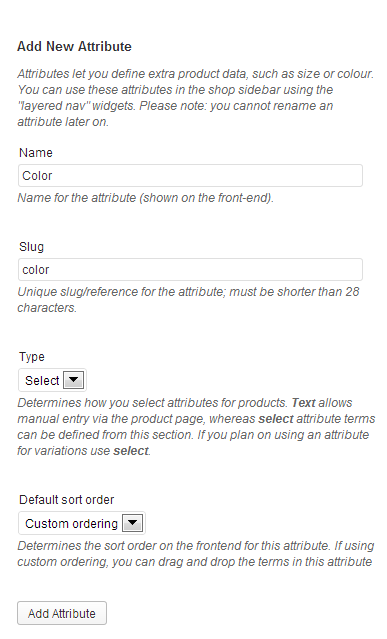 Give it a name for the attribute. The name should reflect what kind of attribute it is like color, sizes, or design pattern etc. Next give it a slug this should be all lowercase and if you are going to use more than one word put a hyphen in between the words like word-word. For type leave it on select for now. This mean that you want a drop down menu to appear. For default sort order make sure Custom ordering is selected. When you have the fields filled out click on "Add Attribute"
Part3 Configure Terms.
The next step would be to configure the terms so click on "Configure Terms" button.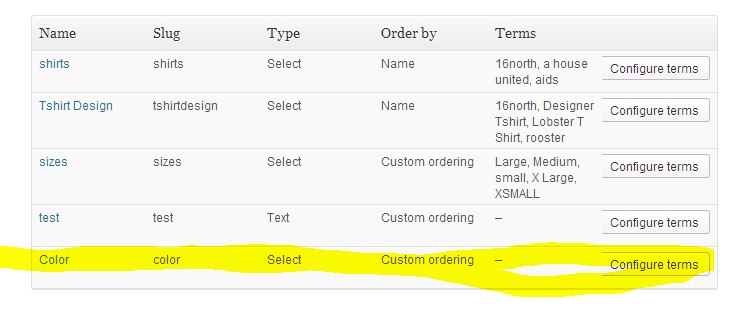 You will see a similar screen that you were just looking at. So give the color a name we will use "Red" and a slug called "red" all in lowercase letters. We will give a description, "This is the color red." Under swatch type select image. It will then give you and upload/addimage button. Select it and upload a red image. Here is one here if you would like to copy and use it.
 After you have entered that click the button "Add New Color". You will see it appear on the right.
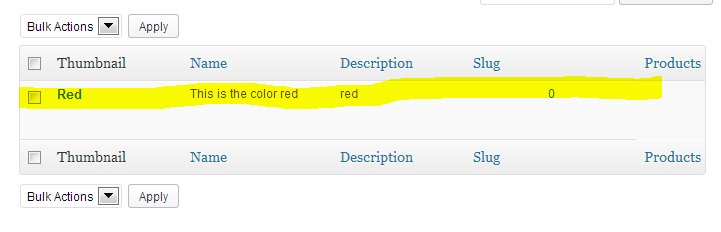 Repeat this process and add the color blue.
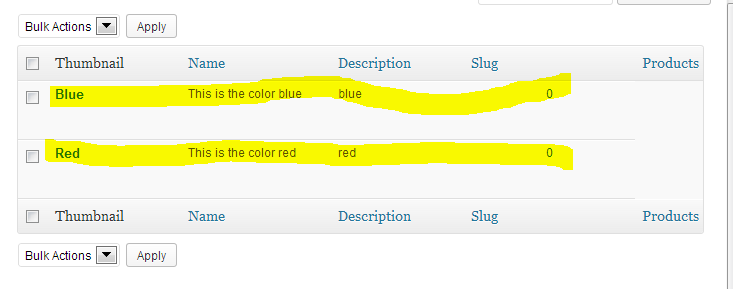
 You will then see the box at the right have both colors added.
Part 4 Add a Product.
The next thing to do would be to add a product.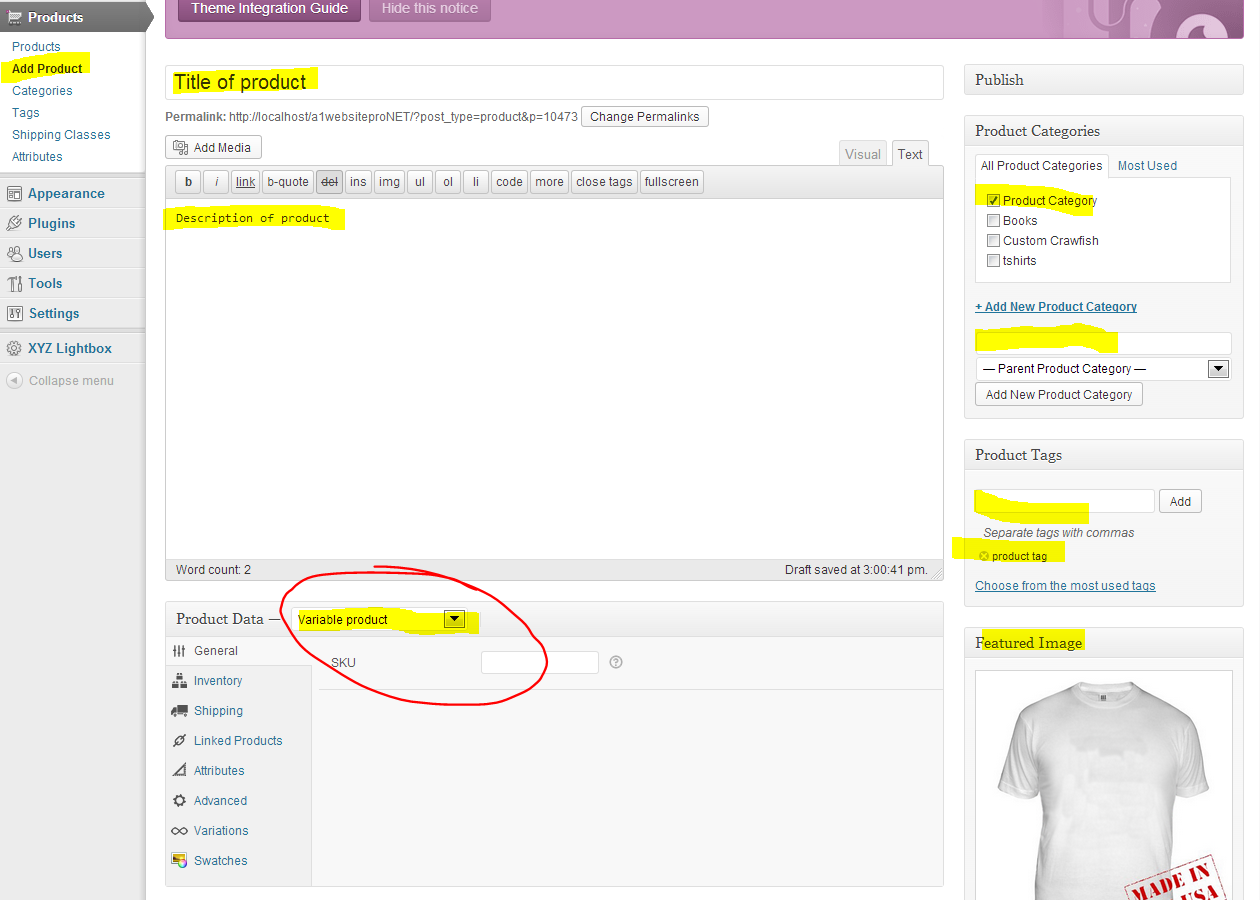 Make sure you fill out all the fields but when selecting product data from the drop down select "Variable Product". Also fill out all the filds like sku number, inventory, shipping parameters etc.
Part 5 Attributes.
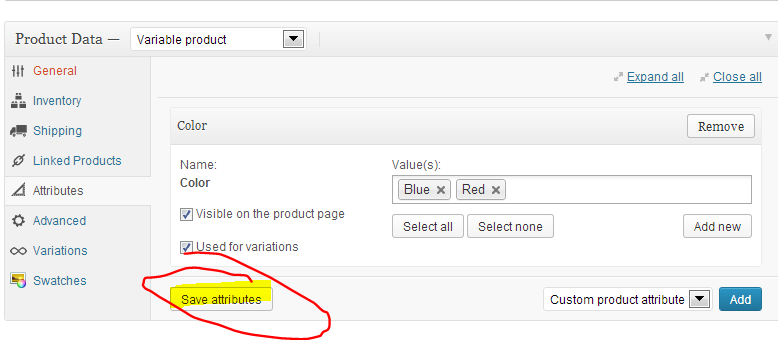
There is another tab called "Attributes" click on that. you will see the following screen appear. Make sure you click the drop down and select color which is the attribute that we created earlier. Then click the "Add" button.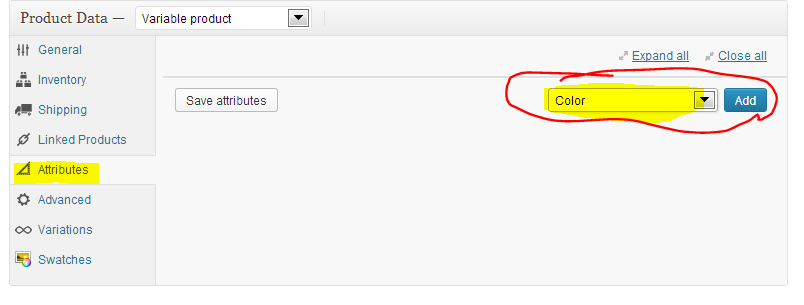 After you click the "Add" button you will see this screen appear. Make sure that you click "Select All" then tick the boxes, "Visible on Product Page" & " Used for variations"
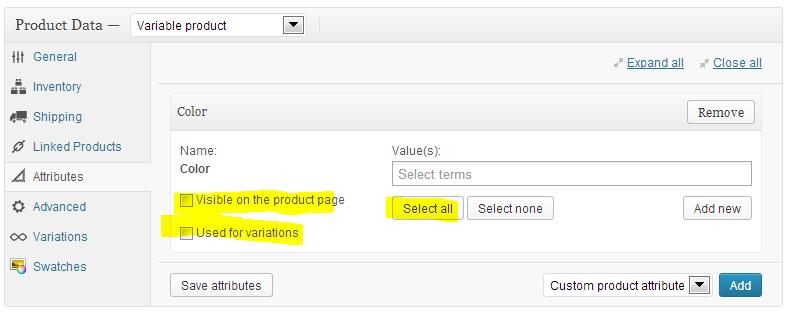 When you see this next box click the "Save Attributes" button.
Part6 Variations.
The next thing that you want to do is link all the variations. You may get 2 pop ups just click OK on both of them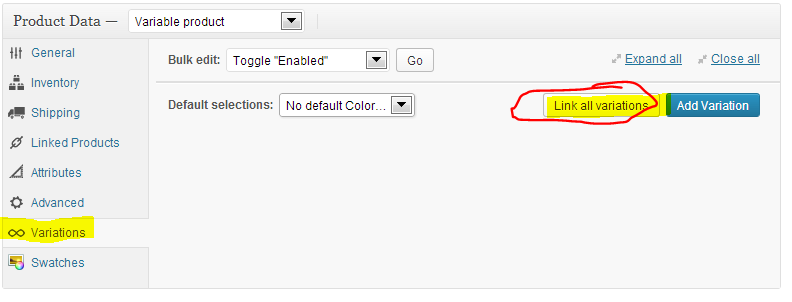
 After you link the variations you will see them laid out with details like the graphic above. Here you can enter different information like sku numbers, prices, sales prices and more. Fill out all the information. Next where I have circled in blue you will click that icon and upload pictures. In the first box you will upload a picture of a blue t shirt in the second box you will upload a picture of a red t shirt. I included the links so you can download them easily and add them. When you upload them using the icon click on the blue button called "Set Variation Image".
Part 7 Featured Image
Next set your featured image to the blank white t shirt. I have included a link so you can access it easily. Click on set featured image and upload the blank white t shirt.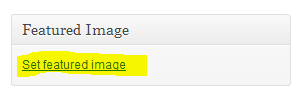
Part 8 Publish Product
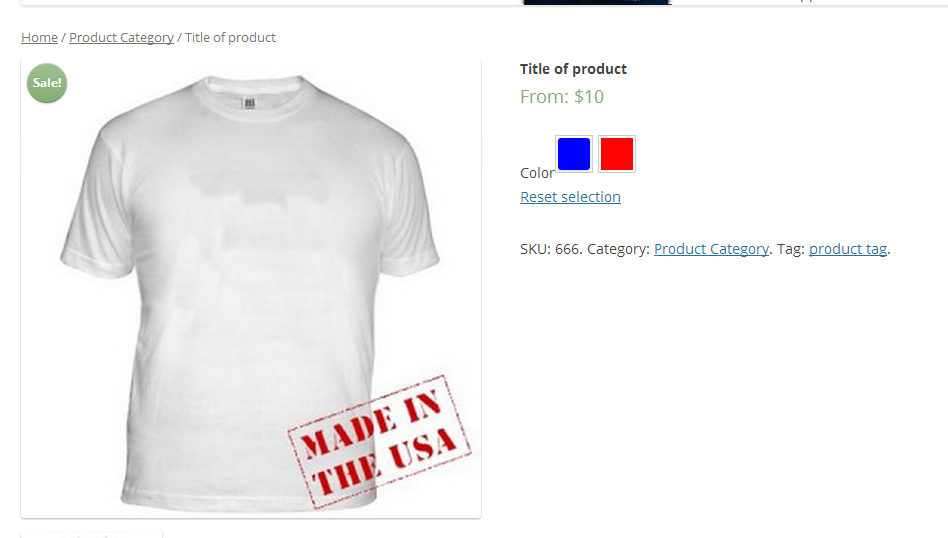
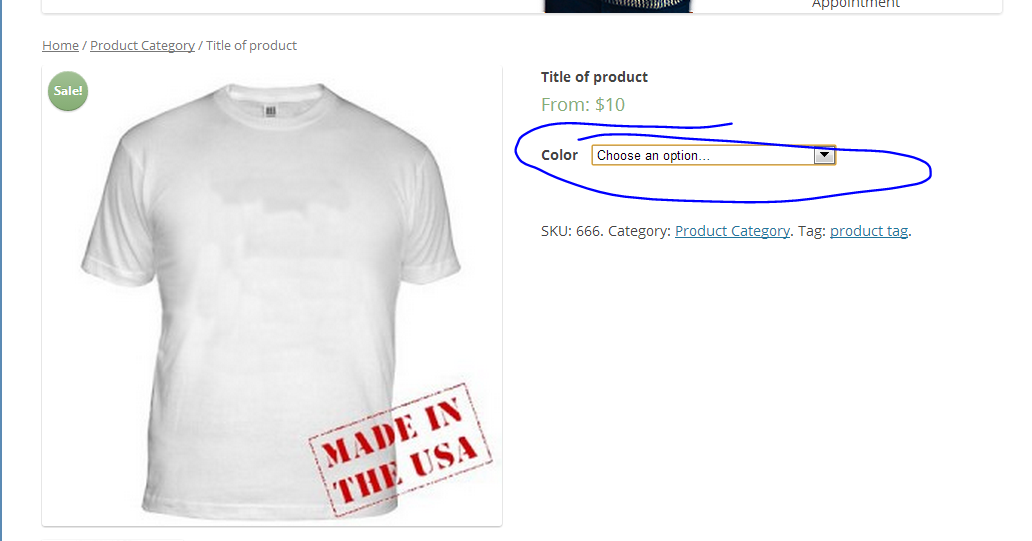
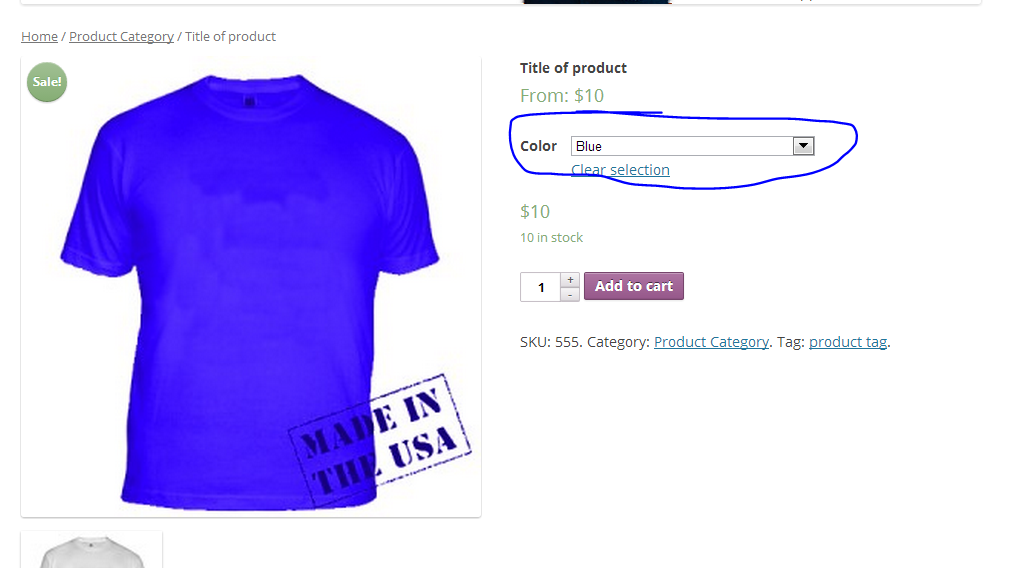
Next what we want to do is make sure that we have our variables set so we would click, "Publish" and preview the product. note: if you save as a draft the variables will not be active!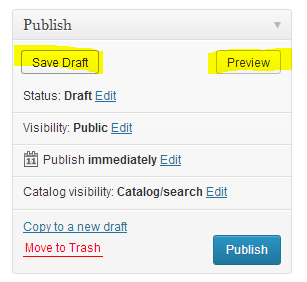 You will see a drop down and when you select a color it will change the graphic on the left.
Part 9 making the swatches
Next we can work with the swatches in woocommerce. You will need the variation swatches and photos plugin if you don't have it. Click on the swatches link and you will see the color attribute listed. Click on it and beside "Type" select Custom Color and Images.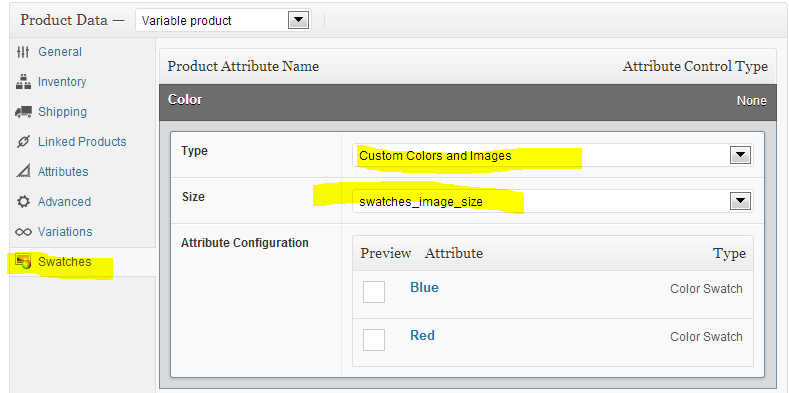 Click on the blue link and from the drop down click on "blue" and configure the attributes. You should already have the blue graphic select that one and set it as your attribute. Do the same with the red one.
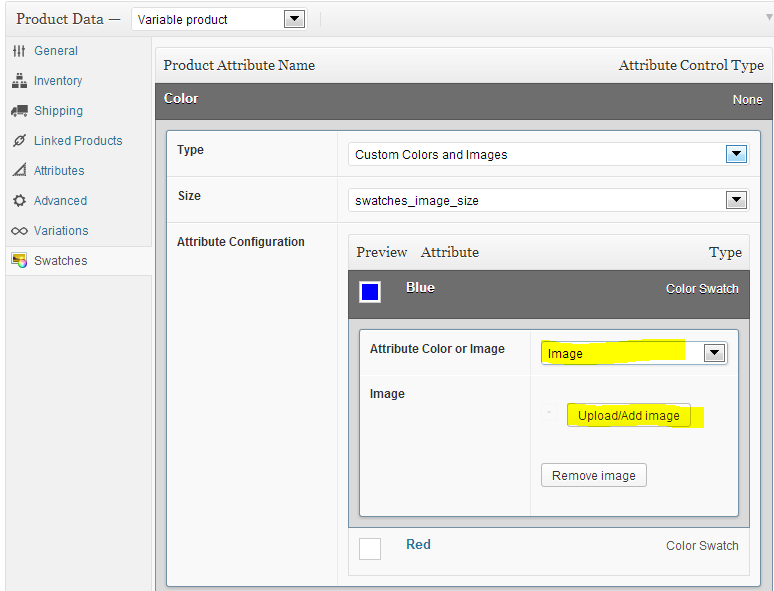 note: you can use the color swatches here but for this tutorial I am showing you how to do it with images.