When you need to catch a screen shot or a section of your screen, then the “Snipping Tool” is a great tool. There are other tools at your disposal like “Snip & Sketch” and other alternatives that we will discuss in this tutorial.
Snipping Tool
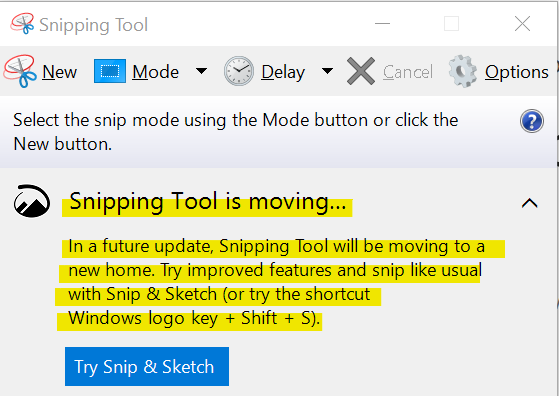
The snipping tool has been around for several years. It is easy to use and has been a “Go To” for me when offering technical support. Unfortunately, Windows 11 does not have the “Snipping Tool” but there is a workaround to restore the old Snipping Tool like the one we are discussing here. You will see a notification on Windows 10 when you start up the snipping tool. This is what it will read.
Snipping Tool is moving…
In a future update, Snipping Tool will be moving to a new home. Try improved features and snip like usual with Snip and Sketch (or try the shortcut Windows logo key + Shift + S).
How To Use The Snipping Tool
Here are some quick steps on how to use this tool.
- Navigate to “Search”.
- Type in “Snipping Tool”.

- Click on “Mode” then “Rectangular Snip”.
- Then click on “New” {The whole screen will turn a slight shade of grey}.
- Drag your mouse cursor over the area that you want to grab.
- You will then see the area that you grabbed within the application.
- You can then save it, copy it and even highlight portions of the image using the snipping tool.
- See Video for further instructions
- If you have your email set up on your Windows machine, then you can email right from the “Snipping Tool”.
- I prefer to just copy and paste the image or save it on my computer and send as an attachment.
Snip & Sketch
Snip & Sketch is a pretty suitable tool to capture screen shots as well. It also looks like this may be the one for future versions of Windows as well. Whether you think this is better or worse than the Snipping Tool is a matter of opinion. However, once you learn something like the Snipping Tool, it seems to be redundant to learn a new tool when they could’ve just added these features to the old one.
How To Use “Snip & Sketch”
Here is a quick guide on how to use the “Snip & Sketch”.
- Navigate to “Search” on your Windows screen.
- Type in “Snip & Sketch” then click on the Icon to start the App.
- You will see a grey box with a message that says “Press Windows logo key + Shift + S to snip what’s on your screen without starting Snip & Sketch.
- Alternatively, if this does not work for you, then you may have to turn on Windows notifications, click here to learn more.
- Click “New” then your screen will grey out, then select the area you want to grab.
- You will then see the section that you grabbed in your “Snip & Sketch” app.
- You can edit this image, copy, save or share it.
- See the video for more details.
If you are using a different operating system like Mac or Linux, there are alternatives we will discuss next. There are also Snipping Apps for Windows we will discuss and link to on the next page. These are all free tools to download and use.

A1WEBSITEPRO Social Media Pages
Here are my social media pages, lets hook up!