The Flash Drive
The next thing that you will need during this process is a USB flash drive or SD card. Yes, you can burn to a CD, it will be up to you what you want to put it on. The steps to follow are the same. However, there are many times when someone has a 2 gig flash drive but then only a 100MB is available. If you find yourself in this situation, then I recommend the following video to clean your flash drive. If not, skip over it to the next section.
Formatting Your USB Flash Drive In Windows
If you skipped over the above video, you will still need to format your flash drive. Note that this is unnecessary if you are burning it onto a CD. Here are the steps to format your flash drive.
- Insert the flash drive into your computer.
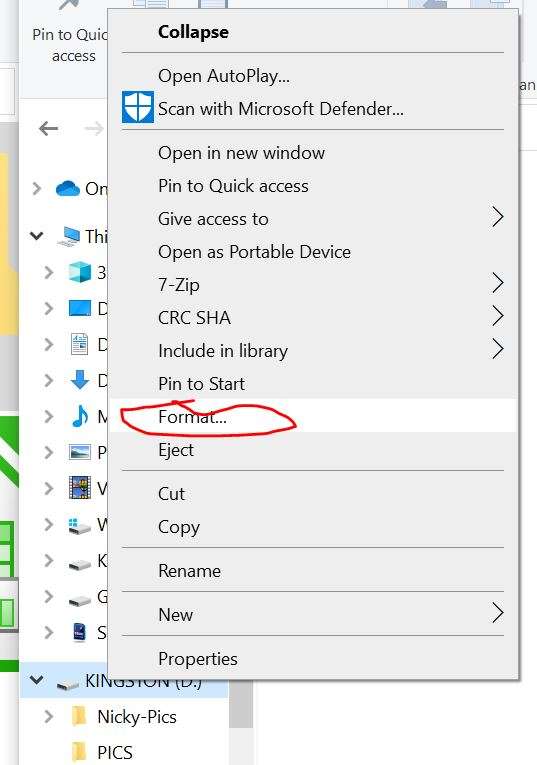
- Right click on the flash drive in your folder explorer view, then click format.
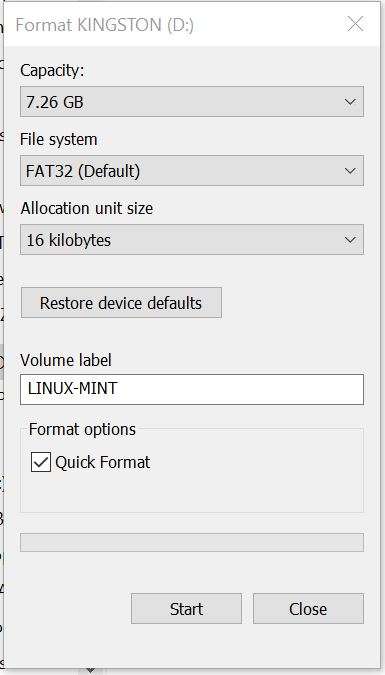
- For the format settings, copy what I did below in this graphic.
- This is actually an 8 GB flash drive, but notice it’s only giving me 7.26 in my capacity. This is why I included the video above.
- Set the File system to FAT32 because it is usable over all types of operating systems. Mac, Windows and Linux.
- They set allocation unit size to 16 kilobytes.
- I named my Volume Label LINUX-MINT
- I ticked “Quick Format”
- Then click start
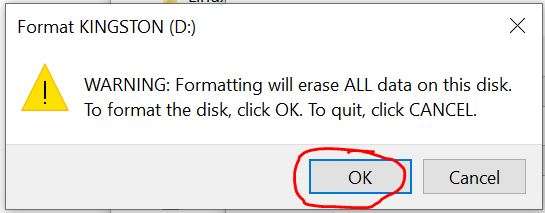
 The next thing that will happen is that they warn you that your entire USB Flashdive will be erased, click OK.
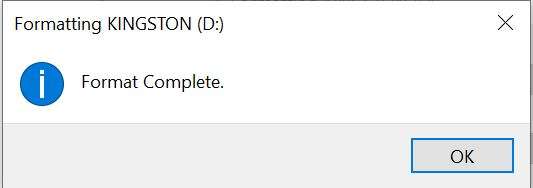
- Next windows will show you a notification that the format has been complete.
Formatting your USB Flash Drive in Mac
- Insert USB Flash drive into a port.
- Mac will recognize that you inserted the USB drive by displaying it on the Desktop.
- Launch the Disk Utility
- Click “Search” in top right corner of the screen.
- Type “Disk Utility” and select it to launch it
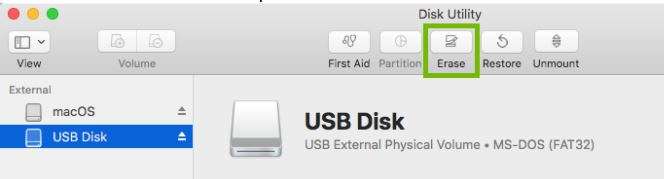
- Select your USB flash drive on the left.
- Select Erase at the top middle of the screen
- Next you will be prompted to type a name in for the dirve. You can name it Linux Mint or whatever you want.
- Choose MS_DOS (FAT) Format option.
- Next select “Erase” the a progress bar will appear.
- Select “Done” once completed.
- Quit the Disk Utility
Formatting your USB Flash Drive in Linux
We want to use FAT32 for formatting because that covers all different operating systems. Therefore, this is the procedure to format a USB flash drive in Linux.
- Bring up your Terminal {Control T}.
- Run the following command
df
- The terminal will print out a list of mounted partitions as well as other useful information.
- Locate your USB Flash drive on the list. Note: if you are unsure which one it is then simply unplug the USB flash drive then plug it back in.
- Unmount your USB Flash drive by typing in the following. Your USB may not be the same as mine /dev/sdb1 so make sure you type in the path to your USB Flash Drive.
-
sudo umount /dev/sdb1
-
- Now let’s format that drive by typing in the following. Remember that yours will probably be different.
-
sudo mkfs.vfat /dev/sdb1
-
- Now verify the USB drive by typing in the following.
-
sudo fsck /dev/sdb1
-
If the USB shows that it has no files, then you were successful.
There are a couple more ways to format in Linux, please see this post here if you need more help.
Once you have a properly formatted USB Flash drive, then it is time to make it “Bootable” with Linux Mint on it. This is what we will cover on the next few pages.
A1WEBSITEPRO Social Media Pages
Here are my social media pages, lets hook up!